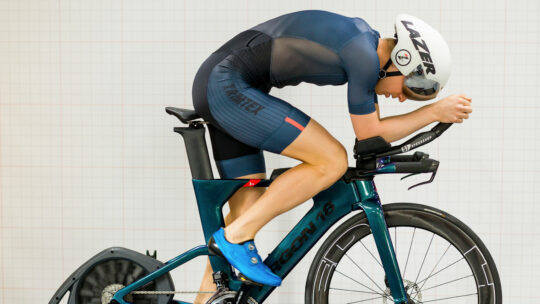


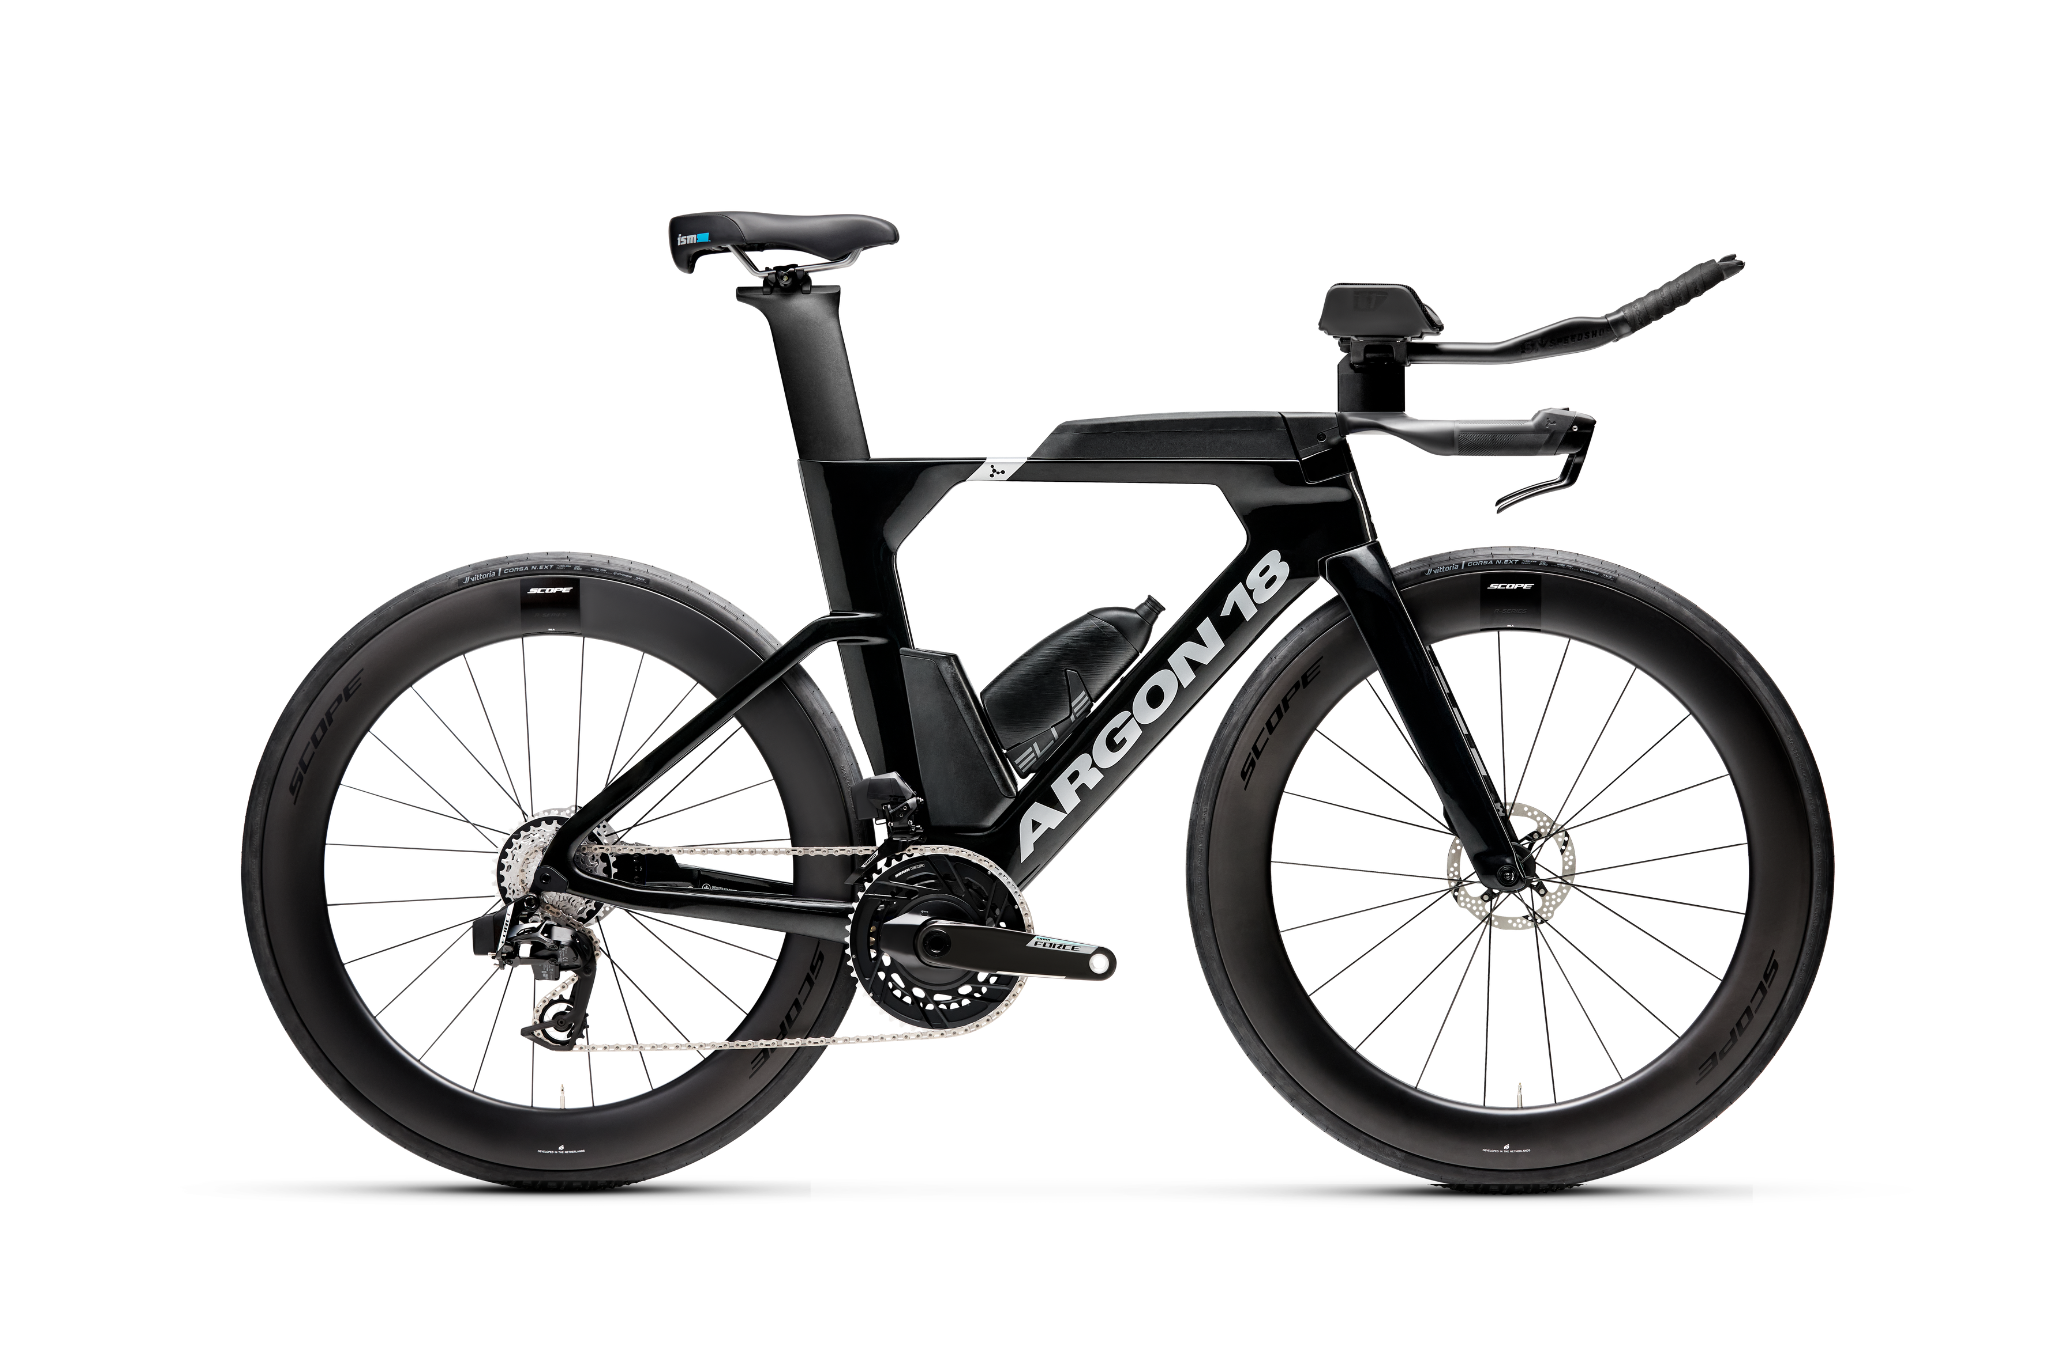

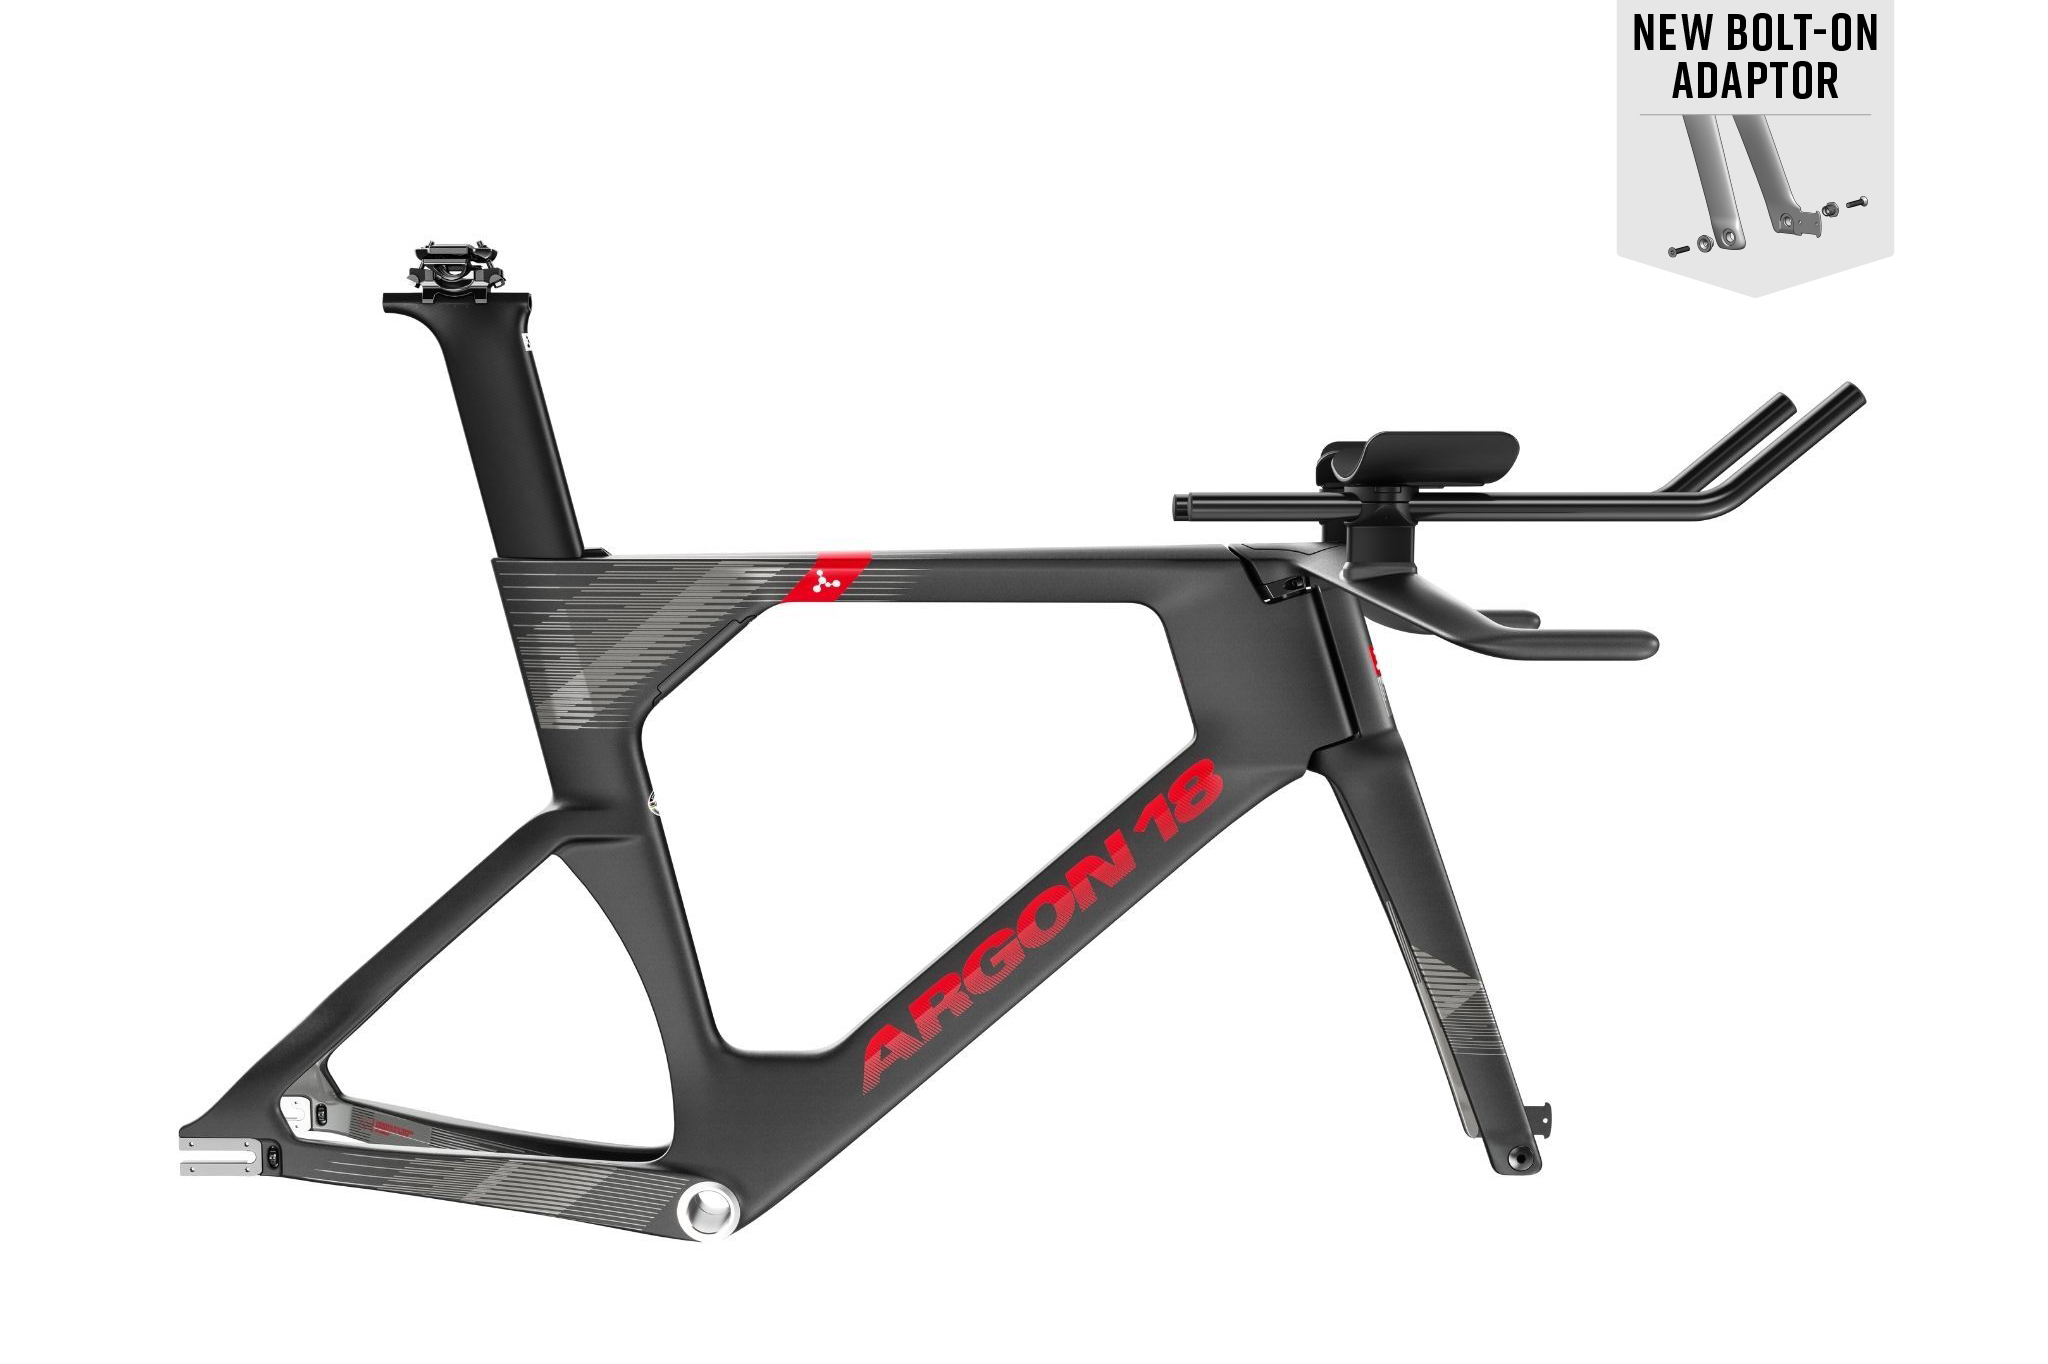
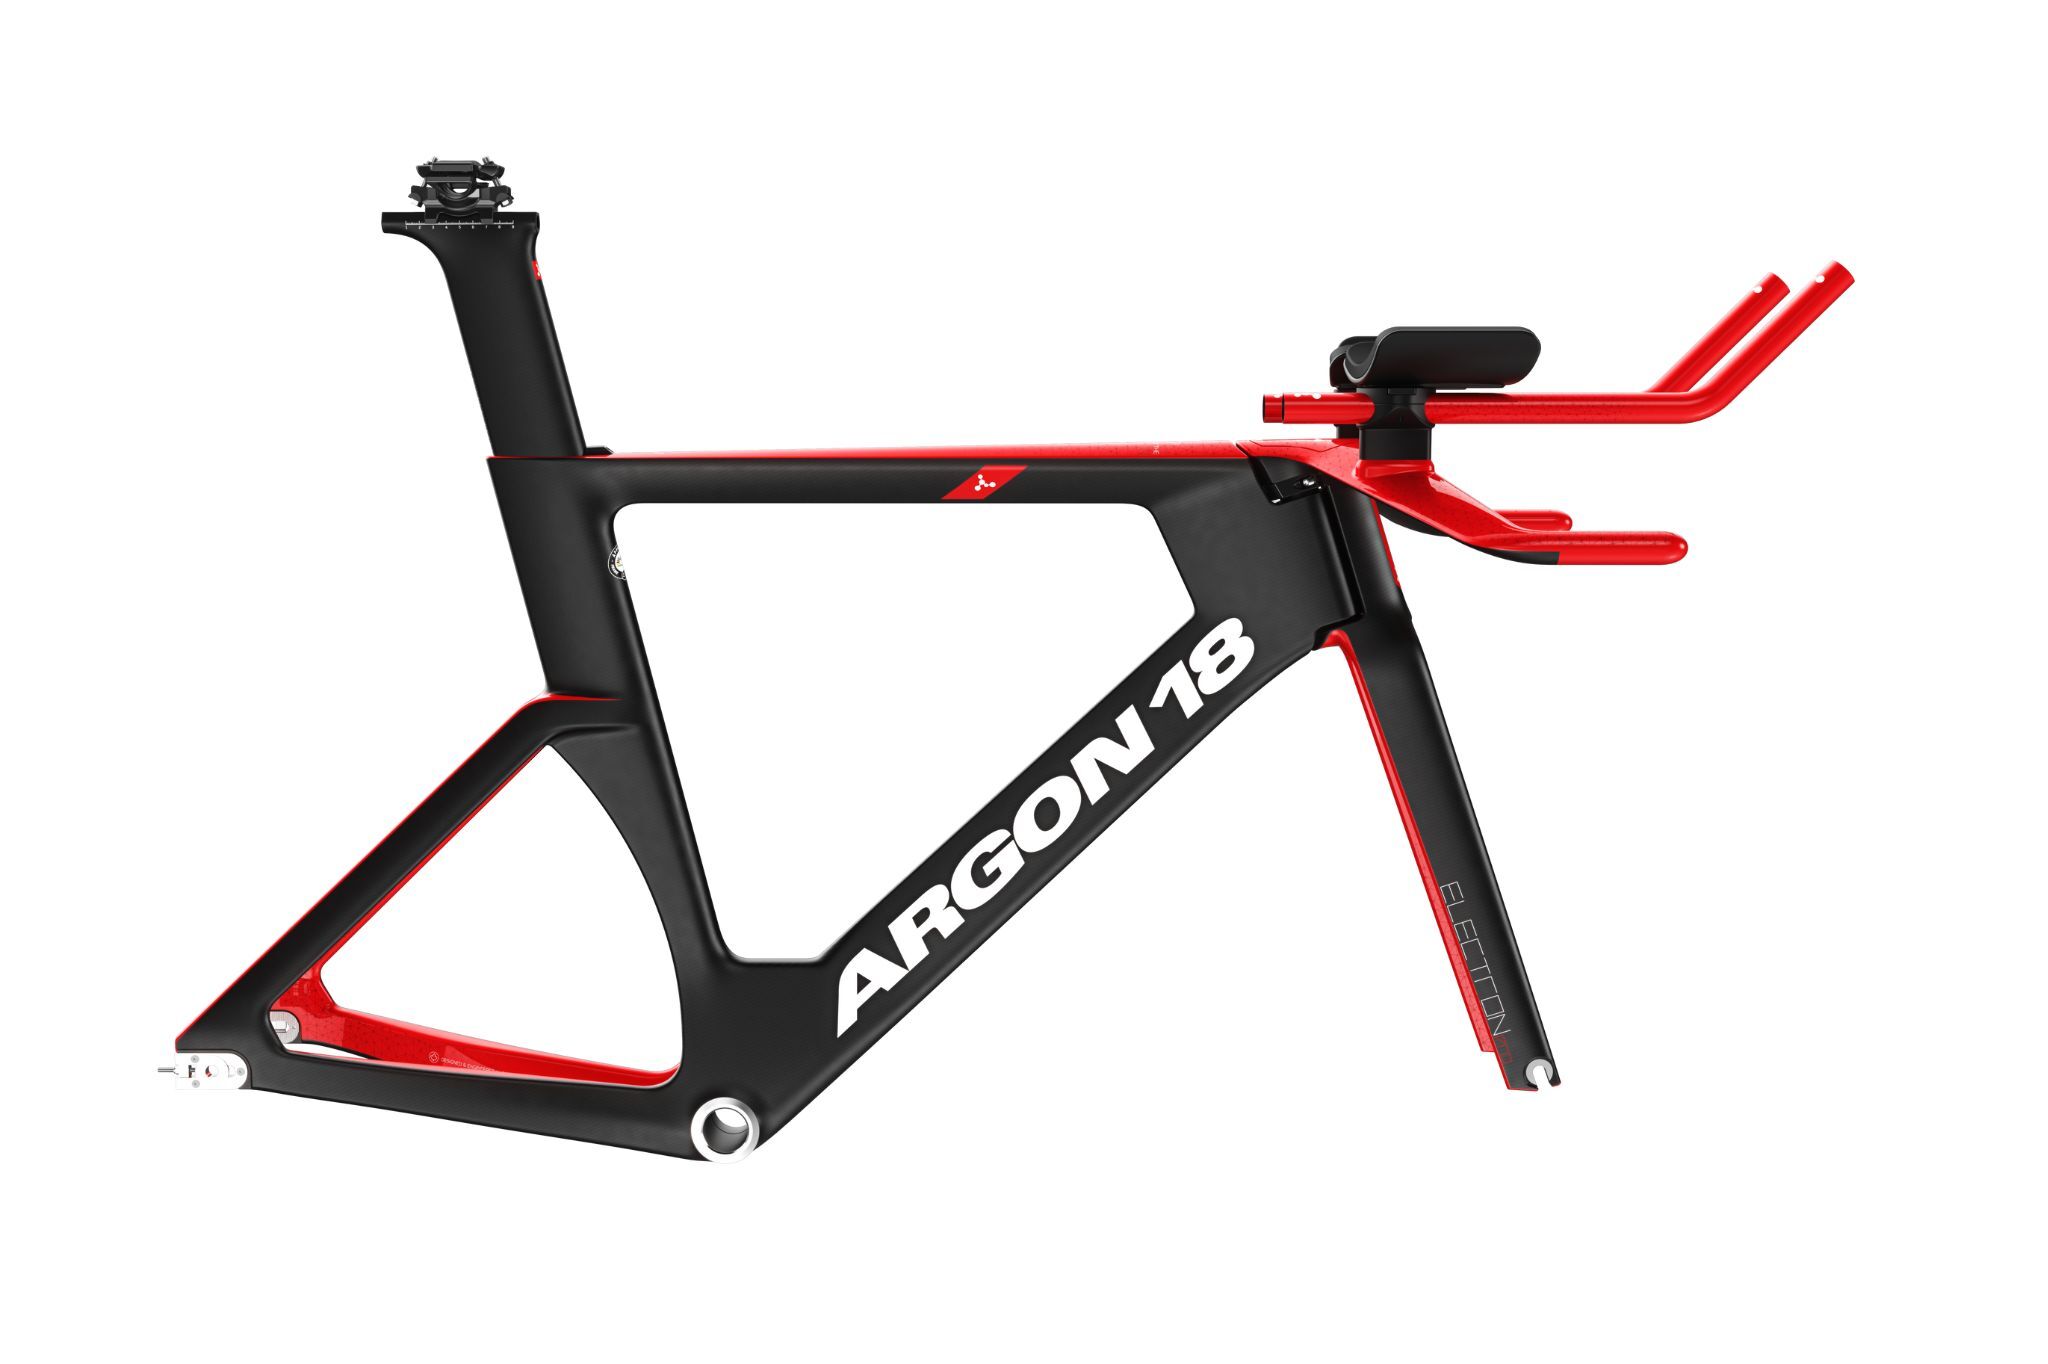
Travelling with your E-119 Tri+ Disc
As we look forward to a 2022 season full of racing, travel may once again be on the schedule. While travelling with your bike is an essential part of triathlon, the last thing you need on the eve of a big race is the stress of complicated packing and reassembly. So that you can stay focused on the race, we’ve put together a step-by-step guide to packing and unpacking your E-119 Tri+ Disc.
1. First, make sure you have all the tools you need:
- Allen keys
- Torque wrench
- Grease
- Clean rag
- Spare small parts (brake pads, screws, etc)
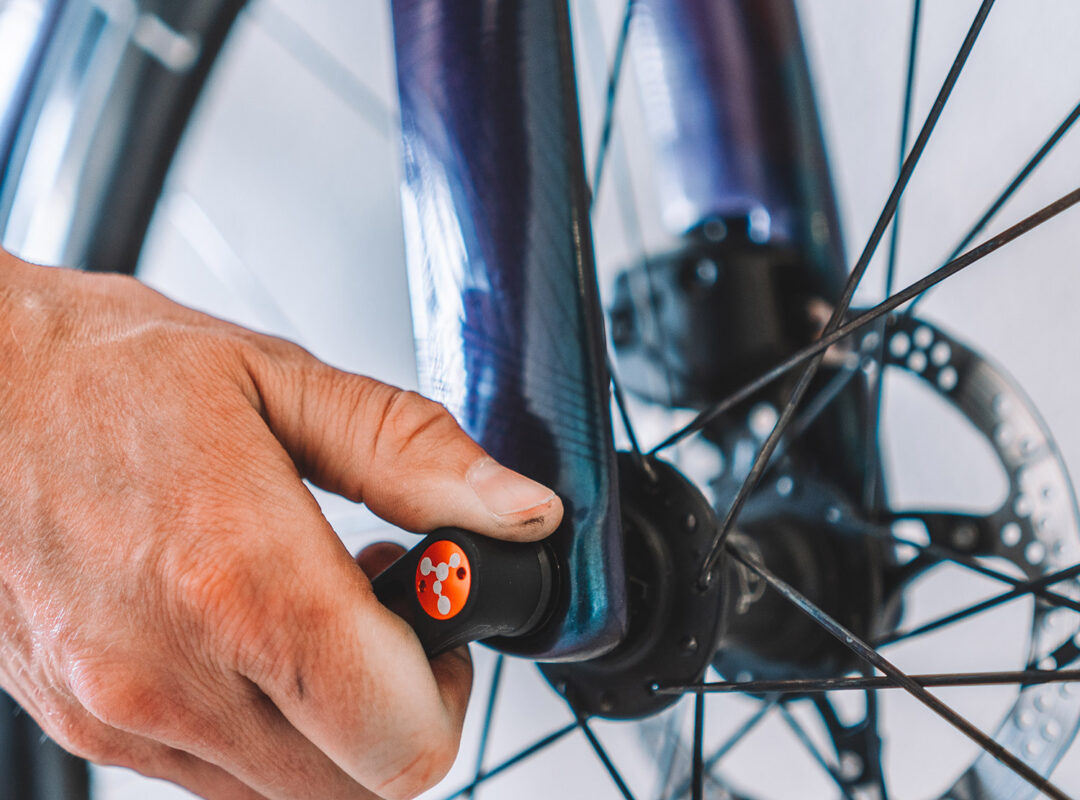
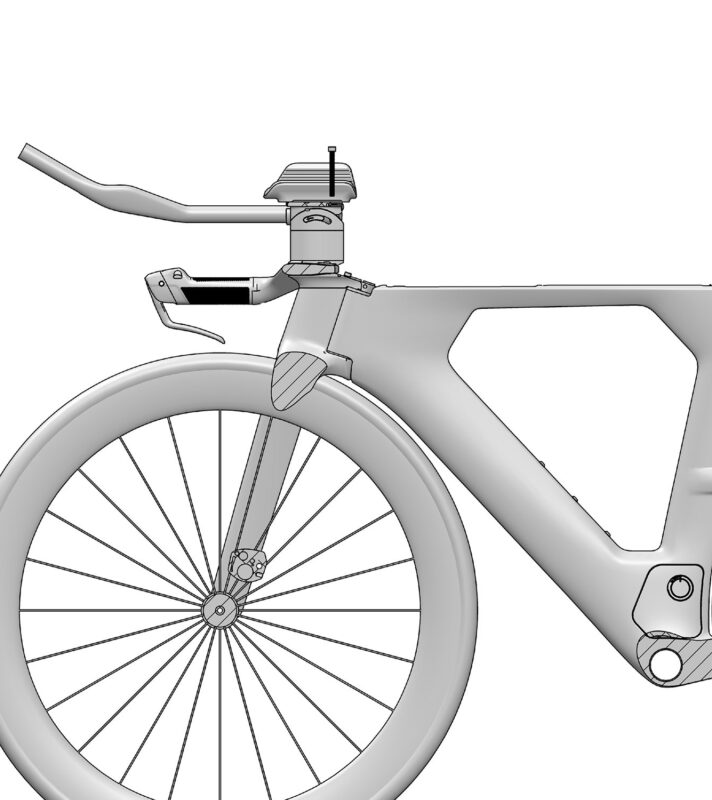
2. Remove the wheels:
Note: If you don’t have a stand or travel bag that can hold your bike upright for the rest of the disassembly process, leave the wheels on and remove them as the last step!
- Remove both wheels using a 6mm Allen key. If your travel bag or case doesn't secure both axles, install an axle spacer to avoid frame compression. It’s important to install a brake pad spacer on both calipers to avoid the brake pad locking closed during travel.
- Depending on your travel case, the rear derailleur may also need to be removed.
3. Remove the seatpost collar and seatpost:
- Be sure to mark or record the height of the seatpost to make reassembly easier, and start by unscrewing the M8 x 10mm set screw.
- Remove the wedge by lifting with the Allen key, then proceed to remove the seatpost. Unplug the battery if you’re using Di2.
- Store the wedge and seatpost in your travel bag.
4. Remove the bento box:
- First, remove the rear M4 x 16mm screw, and loosen both M4 x 16mm front screws.
- Lift the rear of the bento box and slide it toward the rear of the bike to remove the unit.
- Stow the bento box and screw in your travel bag.
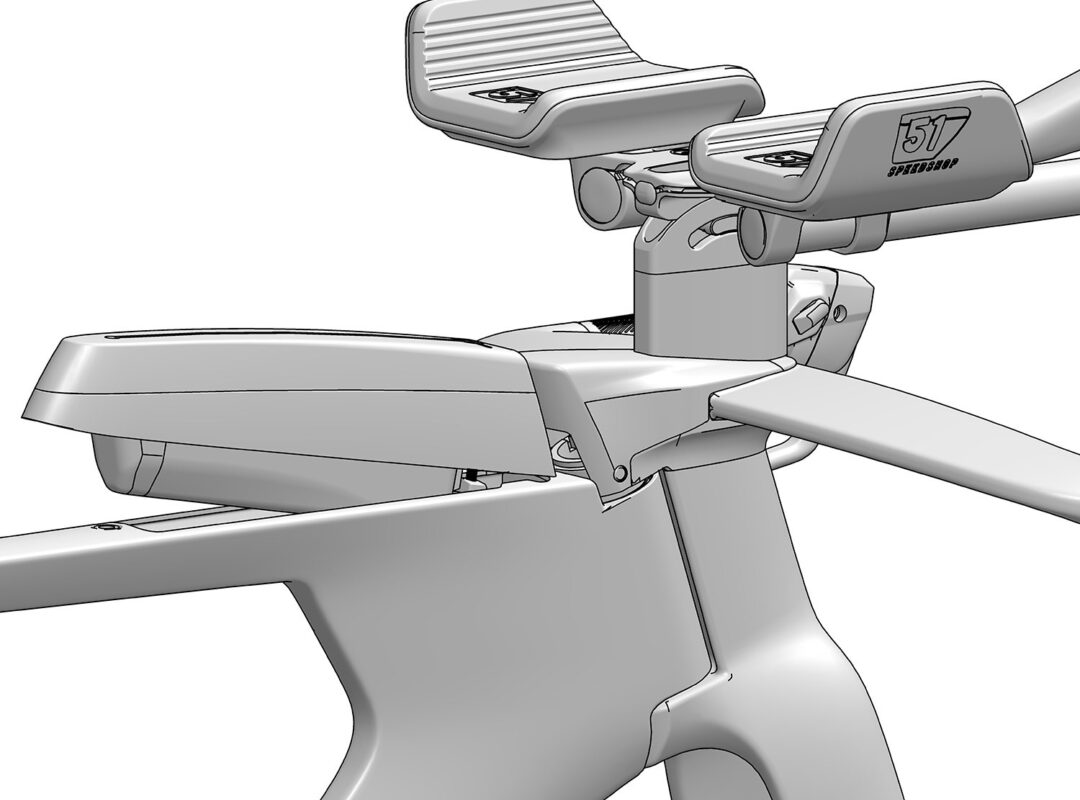
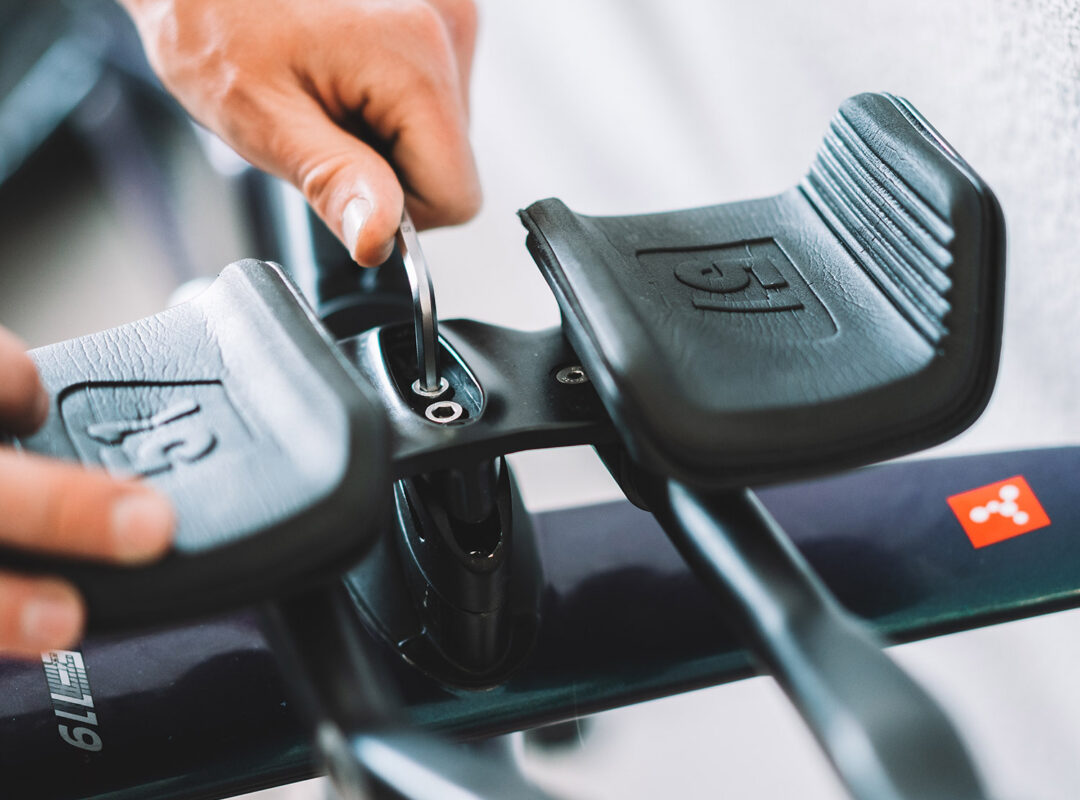
5. Remove the stem cap:
- Remove both M3 x 6mm stem cap screws, then lift the rear of the stem cap and pull backward until the front edges are clear of the first spacer.
- Remove the cap and stow the stem cap and screws in your travel bag.
6. Remove the bottle cage mount:
- Unscrew the water bottle cage and the mount. Also remove the bridge plug if the mount is not being used.
7. Loosen the bridge:
- Be sure to record your bridge angle to help make reassembly and setup easier - angles are laser etched on the swivel spacer and beam.
- Loosen the two M6 x 18mm swivel screws (only one turn) just to allow angle movement.
- Unplug the shifter from the junction box or Blipbox, if you have an electronic build.
8. Remove the bridge
- Tilt the bridge backward to access the front spacer M6 screw.
- Remove the front spacer screws.
- Tilt the bridge forward to access the rear spacer M6 screw.
- Remove the rear spacer screws.
- Pack the bridge, spacer and screws in your travel bag.
9. Remove the handlebar
- Remove both M6 x 16mm screws from the first spacer, and remove the first spacer.
- Pack the first spacer and screws in your travel bag.
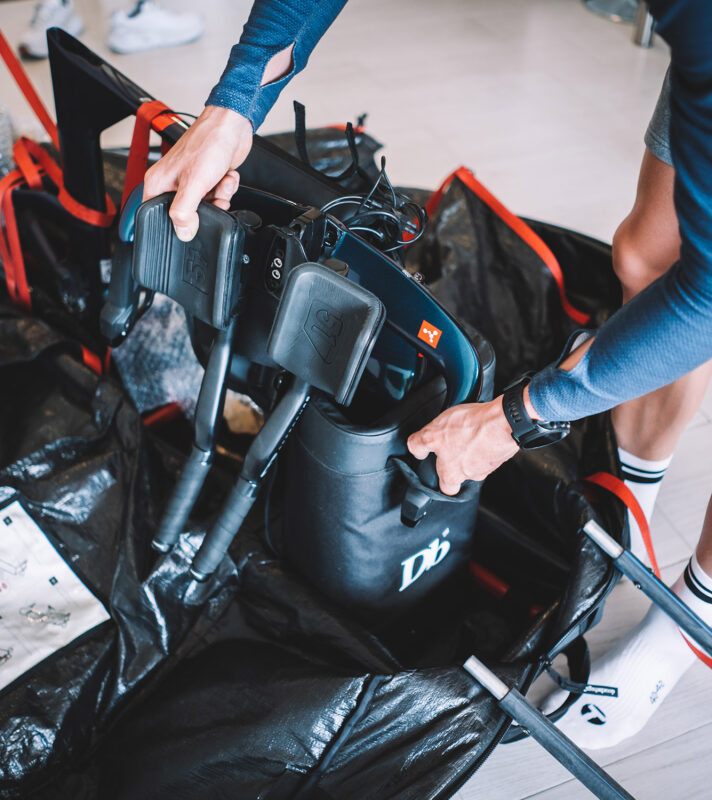
10. Pack your bike
- Place and secure the handlebar on the non-drive side of the frame, then pack your bike, wheels and small parts in the travel bag according to bag instructions.
- Make sure everything is secured (chain, handlebar, bridge assembly, etc.) to avoid paint damage.
Reassembly
Ready to get back on your bike? Follow these steps, but be sure to also refer to our assembly guide for further details and all torque specifications.
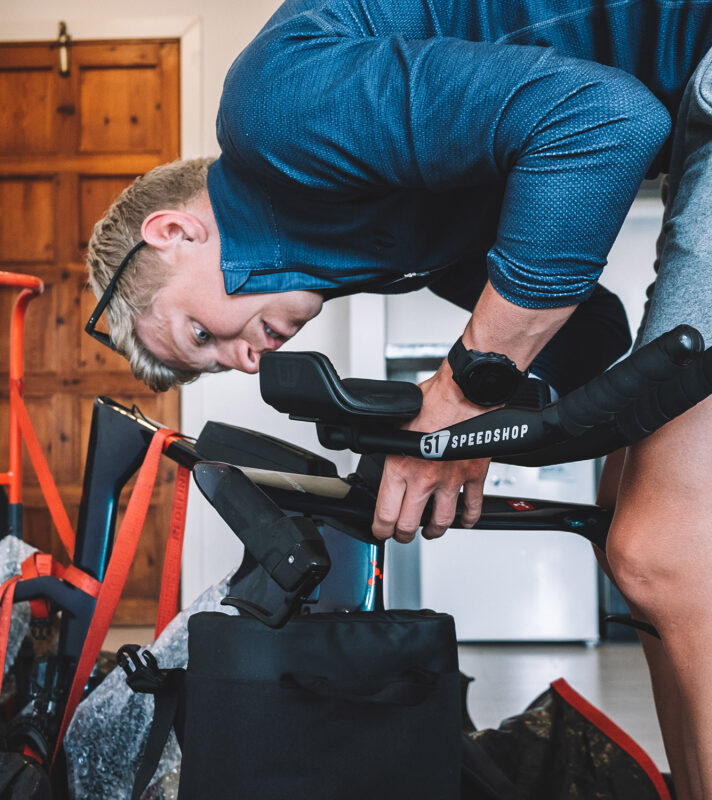
1. Install the handlebars:
- Unpack your bike from the travel bag, and start by installing the handlebar on the fork.
- Install the first spacer over the handlebar.
- Apply grease to the treads of both M6 x 16 mm buttonhead screws and tighten both screws to 6 Nm.
2. Install the bridge:
- Tilt the bridge forward to access the installation point of the rear spacer M6 screw.
- Apply grease to the threads of the two spacer screws, and install and tighten the rear M6 spacer screw to 6 Nm.
- Tilt the bridge backward to install the front spacer M6 screw, and install and tighten the front M6 spacer screw to 6 Nm.
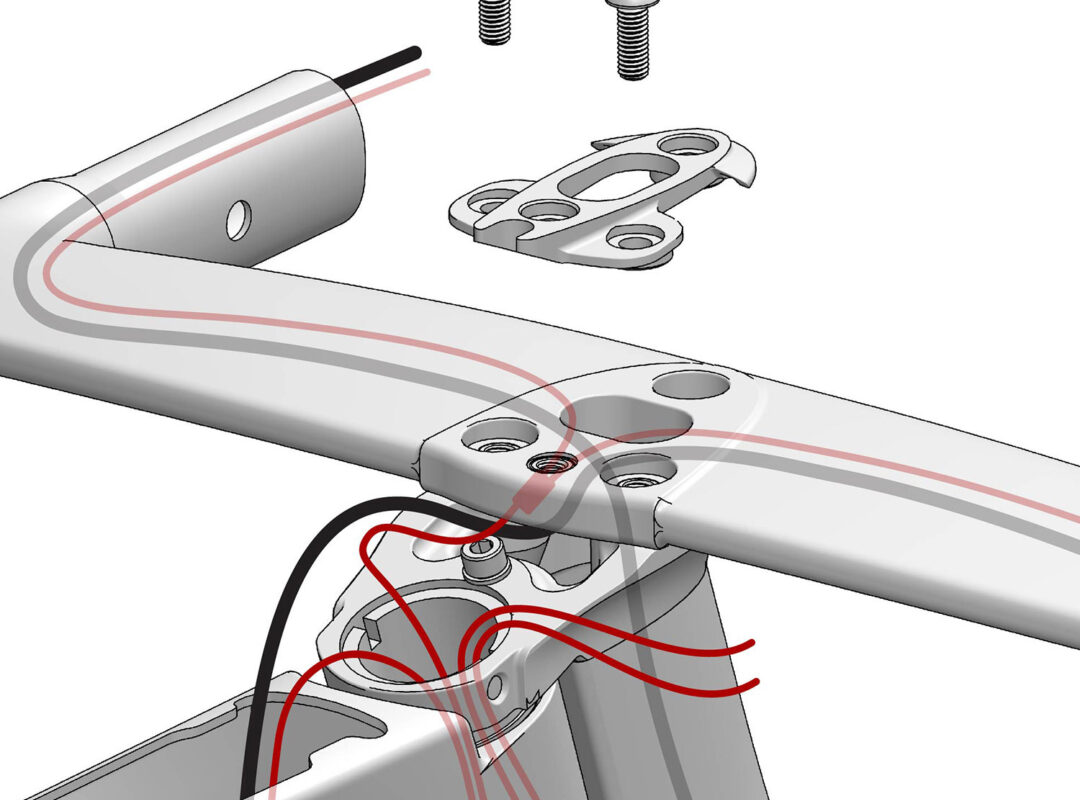
- For electronic assembly, run the extension cable from the junction box through the channel in the spacers and swivel.
- Connect both extensions cables to the JC-41 junction box or Blipbox if you have an electronic build.

3. Tighten the bridge:
- Adjust the bridge to the angle that you noted down while disassembling, and tighten both M6 x 30 mm screws to 9 Nm.
4. Install the bottle cage mount:
- Install the water bottle mount on the bridge, using the grey M5 x 12mm screw. Tighten it to 2 Nm.
- Screw the water bottle cage onto the mount at the desired position using the red screws. Tighten both screws to 2 Nm.
- Insert the bridge plug if the mount is not being used.
5. Install the stem cap:
- Insert the front edges into the first spacer grooves.
- Push the stem cap down until the holes are aligned with the threads on the fork
- Install and hand-tighten both M3 x 6mm screws.
- If using eTap: Push the blipbox into the stem cap until it clicks.
6. Install the bento box:
- Slide the bento box onto the frame hole on the top tube. Make sure the frame is between the bento box and the clamp.
- Hand-tighten the three M4 x 16 mm screws.
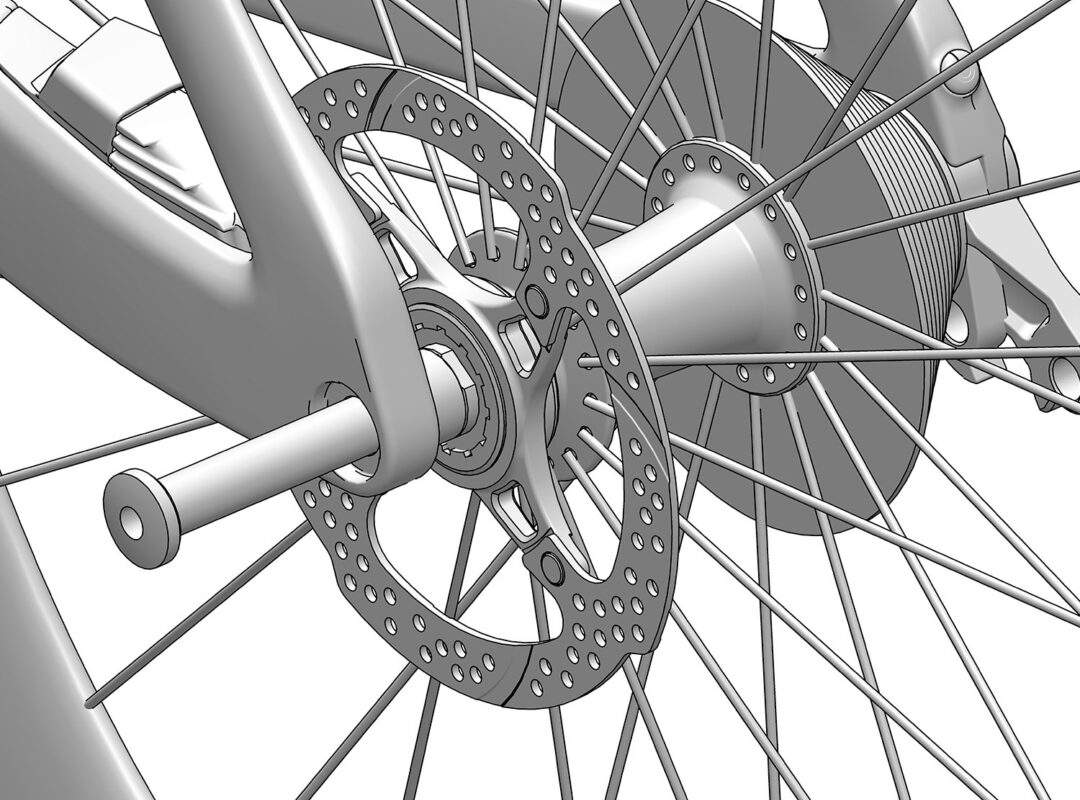
7. Install the wheels:
- Remove both axle protectors and both brake pad spacers.
- Apply grease to the axle threads.
- Place the rear wheel in the frame.
- Thread the thru-axle through the wheel and tighten it to 10 Nm.
- Repeat for front wheel.
- Apply pressure on both brake levers. Make sure wheels are turning freely and the discs don't rub. If they do, adjust the caliper position.
8. Insert the seatpost and seatpost collar:
- Plug in the Di2 battery if you are using a Di2 build.
- Set the seatpost to the desired height (where you marked your height while disassembling), and tighten the M8 x 10 mm set screw of the seatpost clamp to 5.5 Nm
And you’re ready to race! If you have any issues packing or reassembling your bike, please always feel welcome to contact an authorised Argon 18 dealer for service or assistance. You can find our dealers here.
To download the detailed travel guide, click here.