


Packing Your Tri Bike – Disc Edition!
Last year we put together some tips for packing your tri bike to get you on the road to the Ironman World Championships in Kona. With the increasing popularity of disc brakes for tri bikes, we thought we’d do a refresh to specifically address travelling with disc brake-equipped bikes, especially hydraulic.
1. How different can it really be?
Of course, some travel basics are standard regardless of brake type.
#1: Get a good bike case. Make sure you choose either a rigid or semi-rigid travel case. If you’re travelling with discs, get a disc-specific bag, which will have special area with additional protection for your rotors. If you have an older bag that’s not disc-specific, don’t worry – you can still use it, but you’ll want to remove your rotors and pack them separately to ensure they are not bent during travel.
#2: Keep your pedals, helmet, shoes, and your fit measurements with you in your carry-on. If your bike doesn’t make your connecting flight, you’ll at least be in good shape to find a loaner.
And #3: Bring tools! Have a look at the essentials we suggest here.

2. Do I have to be careful when removing the wheels?
Well, yes. Once you’ve put your pedals safely in your carry-on, you’re ready to remove the wheels, and also remove the quick releases or thru-axles before packing the wheels in your bike bag. Make sure to put the proper protective spacers in your frame and fork to avoid any unpleasant surprises when you unpack your bike.
With disc brakes, once you’ve removed the wheel you’ve also removed the rotor, so there will be nothing between the brake calipers. This is where you need to be careful: nearly all hydraulic disc calipers are designed to automatically adjust to wear, meaning the pistons are designed to push out until they come in contact with the disc rotor, and then they retract a set amount. That amount changes as the pads wear down, which is a positive thing: you’ll always have reliable braking pressure. But once you’ve removed the rotor, if you engage your brakes, they will close until the pads touch each other. This will set a new contact point for the pistons to retract from, and if you do this several times, it can result in the brake essentially locking up. The pads will be squeezed shut, with no way to re-insert the rotor – meaning you won’t be able to put your wheel back on.
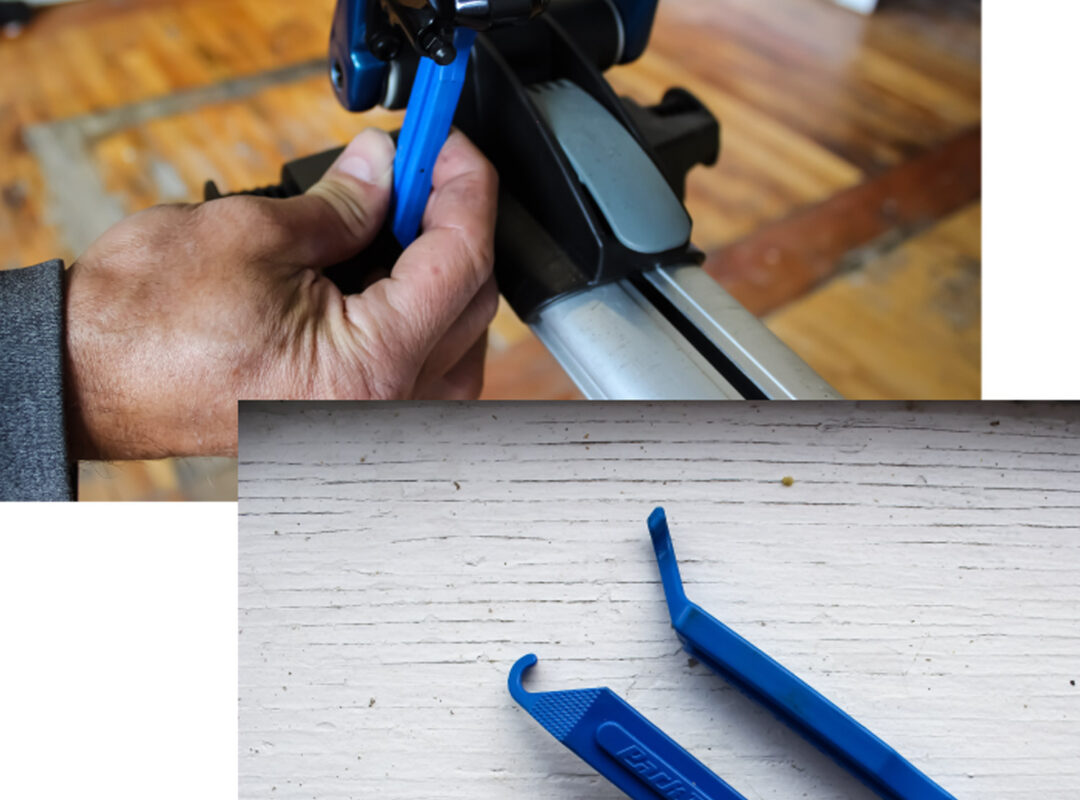
Don’t panic if you find this has happened when you reach your destination! You’ll need to very carefully reset the pistons. Insert a dull, flat object (think a butter knife) between the pads and very carefully pry them apart. When you have enough space, use a tire lever. Push the pads all the way open, and put your wheel back in as normal. Pump the brakes few times to reset the pistons, and you should be good to go.
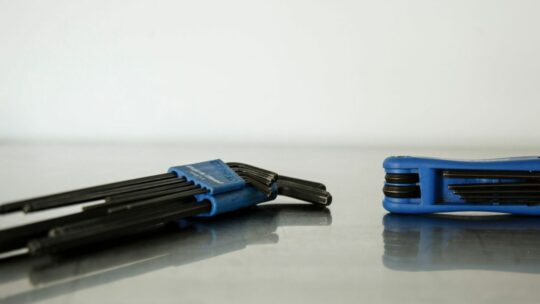
Your solution to avoid this situation: be sure to use a pad spacer/travel wedge – it either came with your bike, or you can ask your local shop for one. Be sure to use the right spacer for your brakes: SRAM and Shimano have very different shapes, as you can see in the photo above. Always ensure that your spacer is clean before using it.
3. How do I protect the rotors?
Remember, if you don’t have a bike bag designed for discs, remove your rotors before travel. Store them in clean plastic bags for travel – and remember to pack along all tools that you used for disassembly so that you can put them back on when you arrive.
If your rotor does gets bent in travel, your local shop may be able to put in back in true for you, but depending on the damage, you may be looking at getting a new rotor – not something you want to be scrambling for on race day.
4. What about the rear derailleur?
Be sure to remove the rear derailleur. You don’t want your derailleur hanger to be bent in travel from pressure on the derailleur. Wrap the derailleur in a rag or plastic bag and secure it on the frame using tape or tie wraps. Electrical tape may be easier, since you don’t need scissors to remove it.
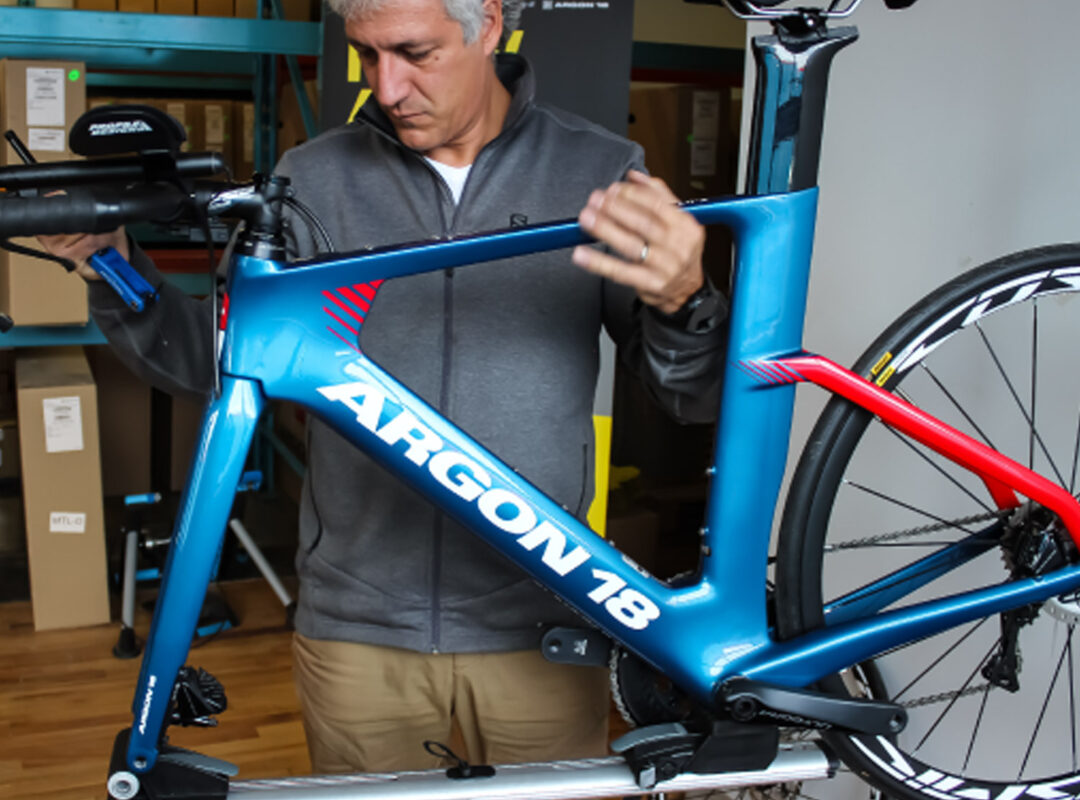
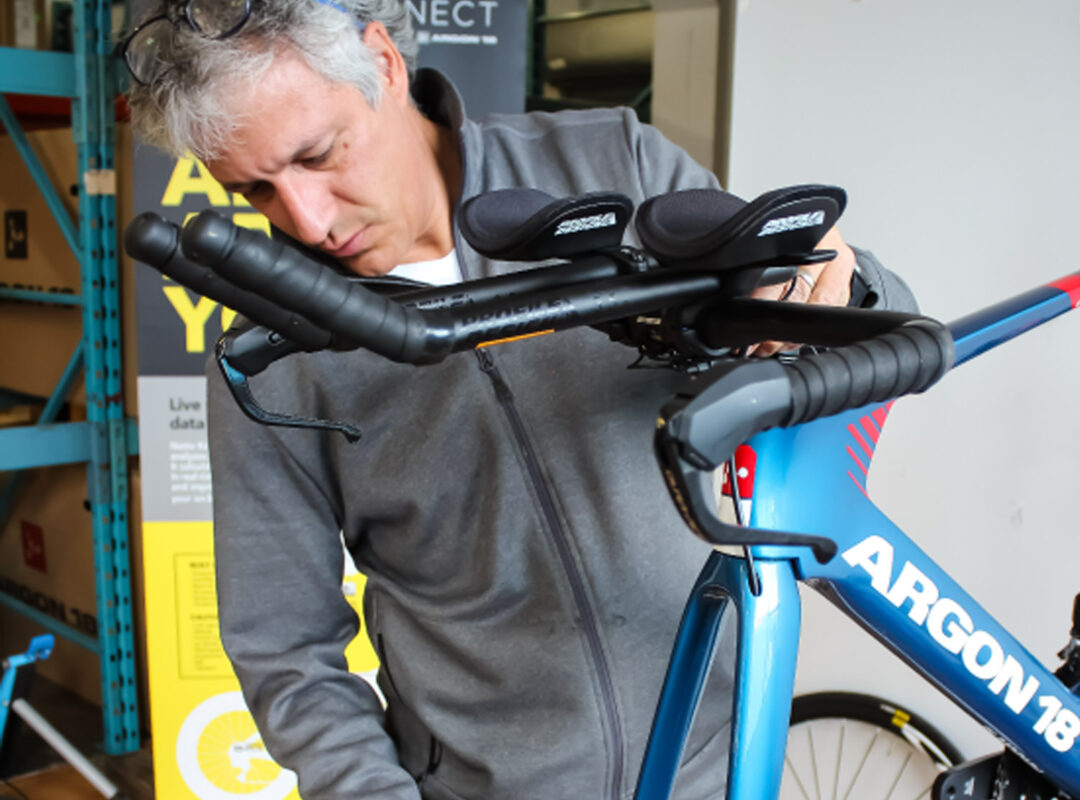
5. And the seatpost and handlebar?
Yes, these standard steps still apply with disc bikes! Remove your handlebar/stem unit from the bike. Make sure to put markers on it (pieces of tape will do) so that it can be put back on in exactly the same position. Once this is done, you can attach the bar to the front of the bike using tape or tie wraps.
For those with hydraulic cables, make sure there is no kink in the cables when you turn your handlebars down the side of the bike. If you get a kink in the brake lines you can usually gently squeeze it out, but if it’s severe you may need to re-cable the brake lines – again, something you don’t want to be faced with on race day.
Remove the seat post from the frame. Mark the seat post with a marker or electrical tape so you can quickly set it to the proper height on assembly. Wrap the seat post in a plastic bag and place it in the travel case securely so it is not touching the frame.
6. What else should I be prepared for?
Everything! You’ve trained exceptionally hard for this race, so don’t let something small stand in your way - like forgetting an extra set of brake pads. Remember that if you get any type of oil on your brake pads they cannot be used, so having an extra set is key. Be sure not to pack any oils with your bike for travel for just this reason - spills happen. If you’re using a spray lube on your chain, cover the pads with a plastic bag, held firmly with an elastic. If you need to clean your brakes, use isopropyl alcohol (ideally 100%).
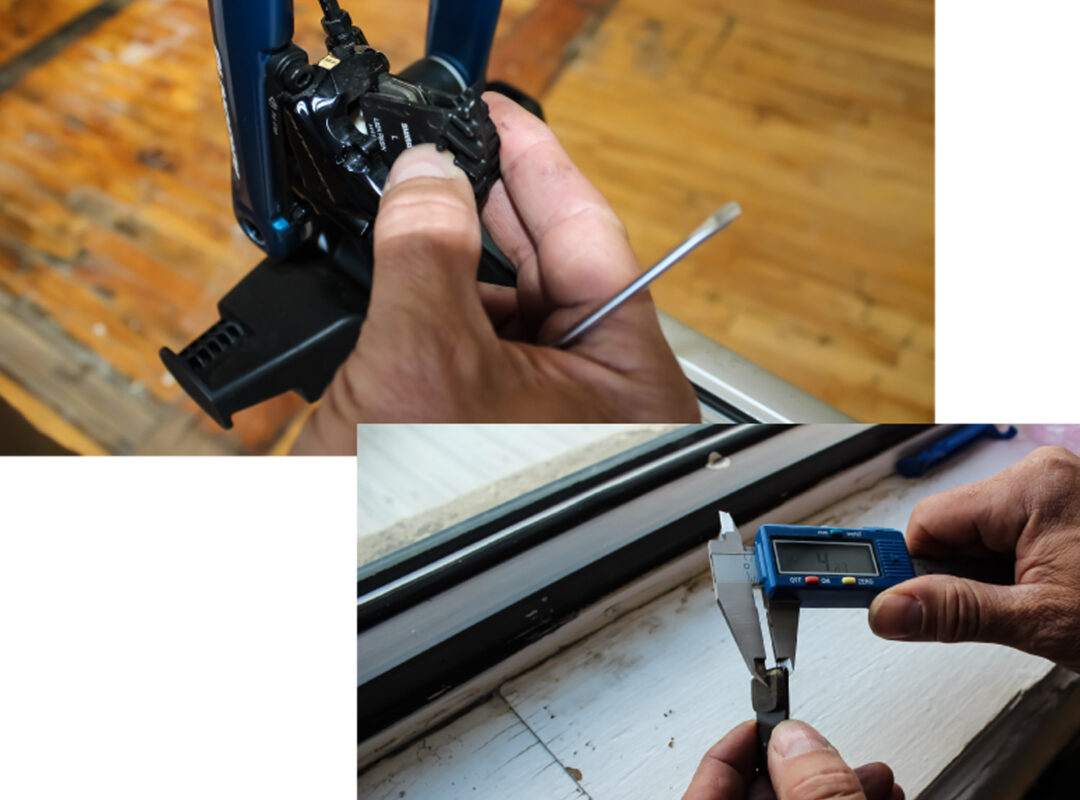
Check for brake pad wear as well before the race. Most manufacturers will have guidelines about replacement. Shimano suggests replacing them if there is less than 0.9mm of braking material left, and for SRAM, it’s 2.5mm including the backing pads. Campagnolo has a ‘wear groove’ in the centre of the pads, and replacement should happen when the groove is no longer visible.
If you feel unsure about any of this, you can ask your local bike shop if they offer a bike packing service. In any case, give yourself plenty of time to disassemble and pack your bike. Packing a bike at the very last minute is risky business, especially if you have never done it before. And remember that you will need to reassemble the bike once you arrive at your destination and pack it again before you head home, so taking a few extra minutes to establish a routine is a good idea.