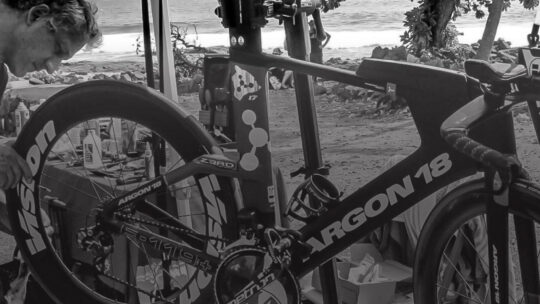


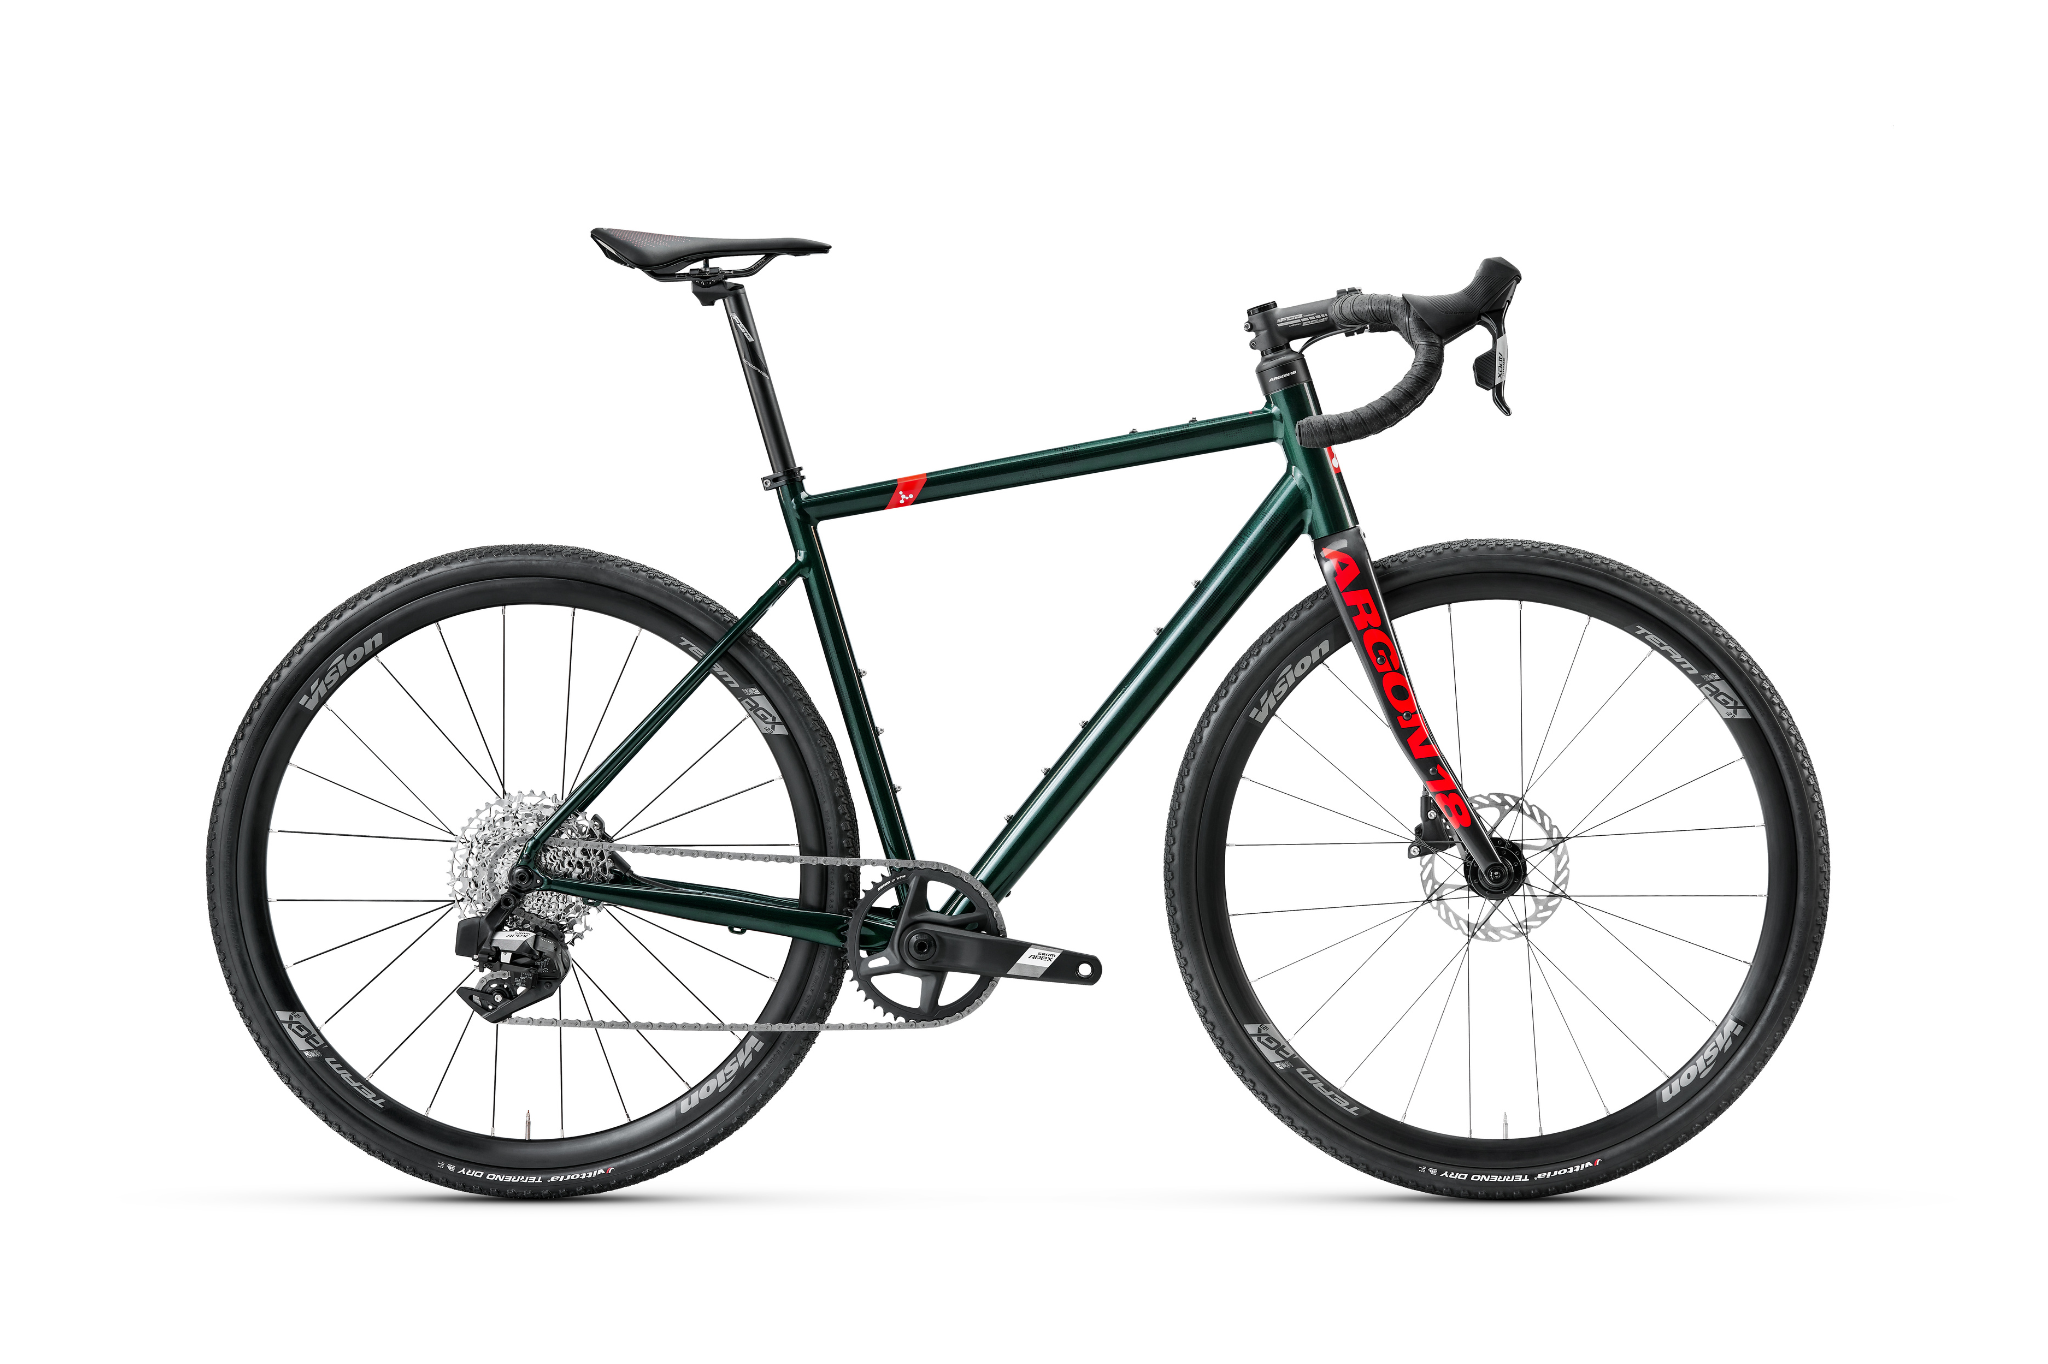

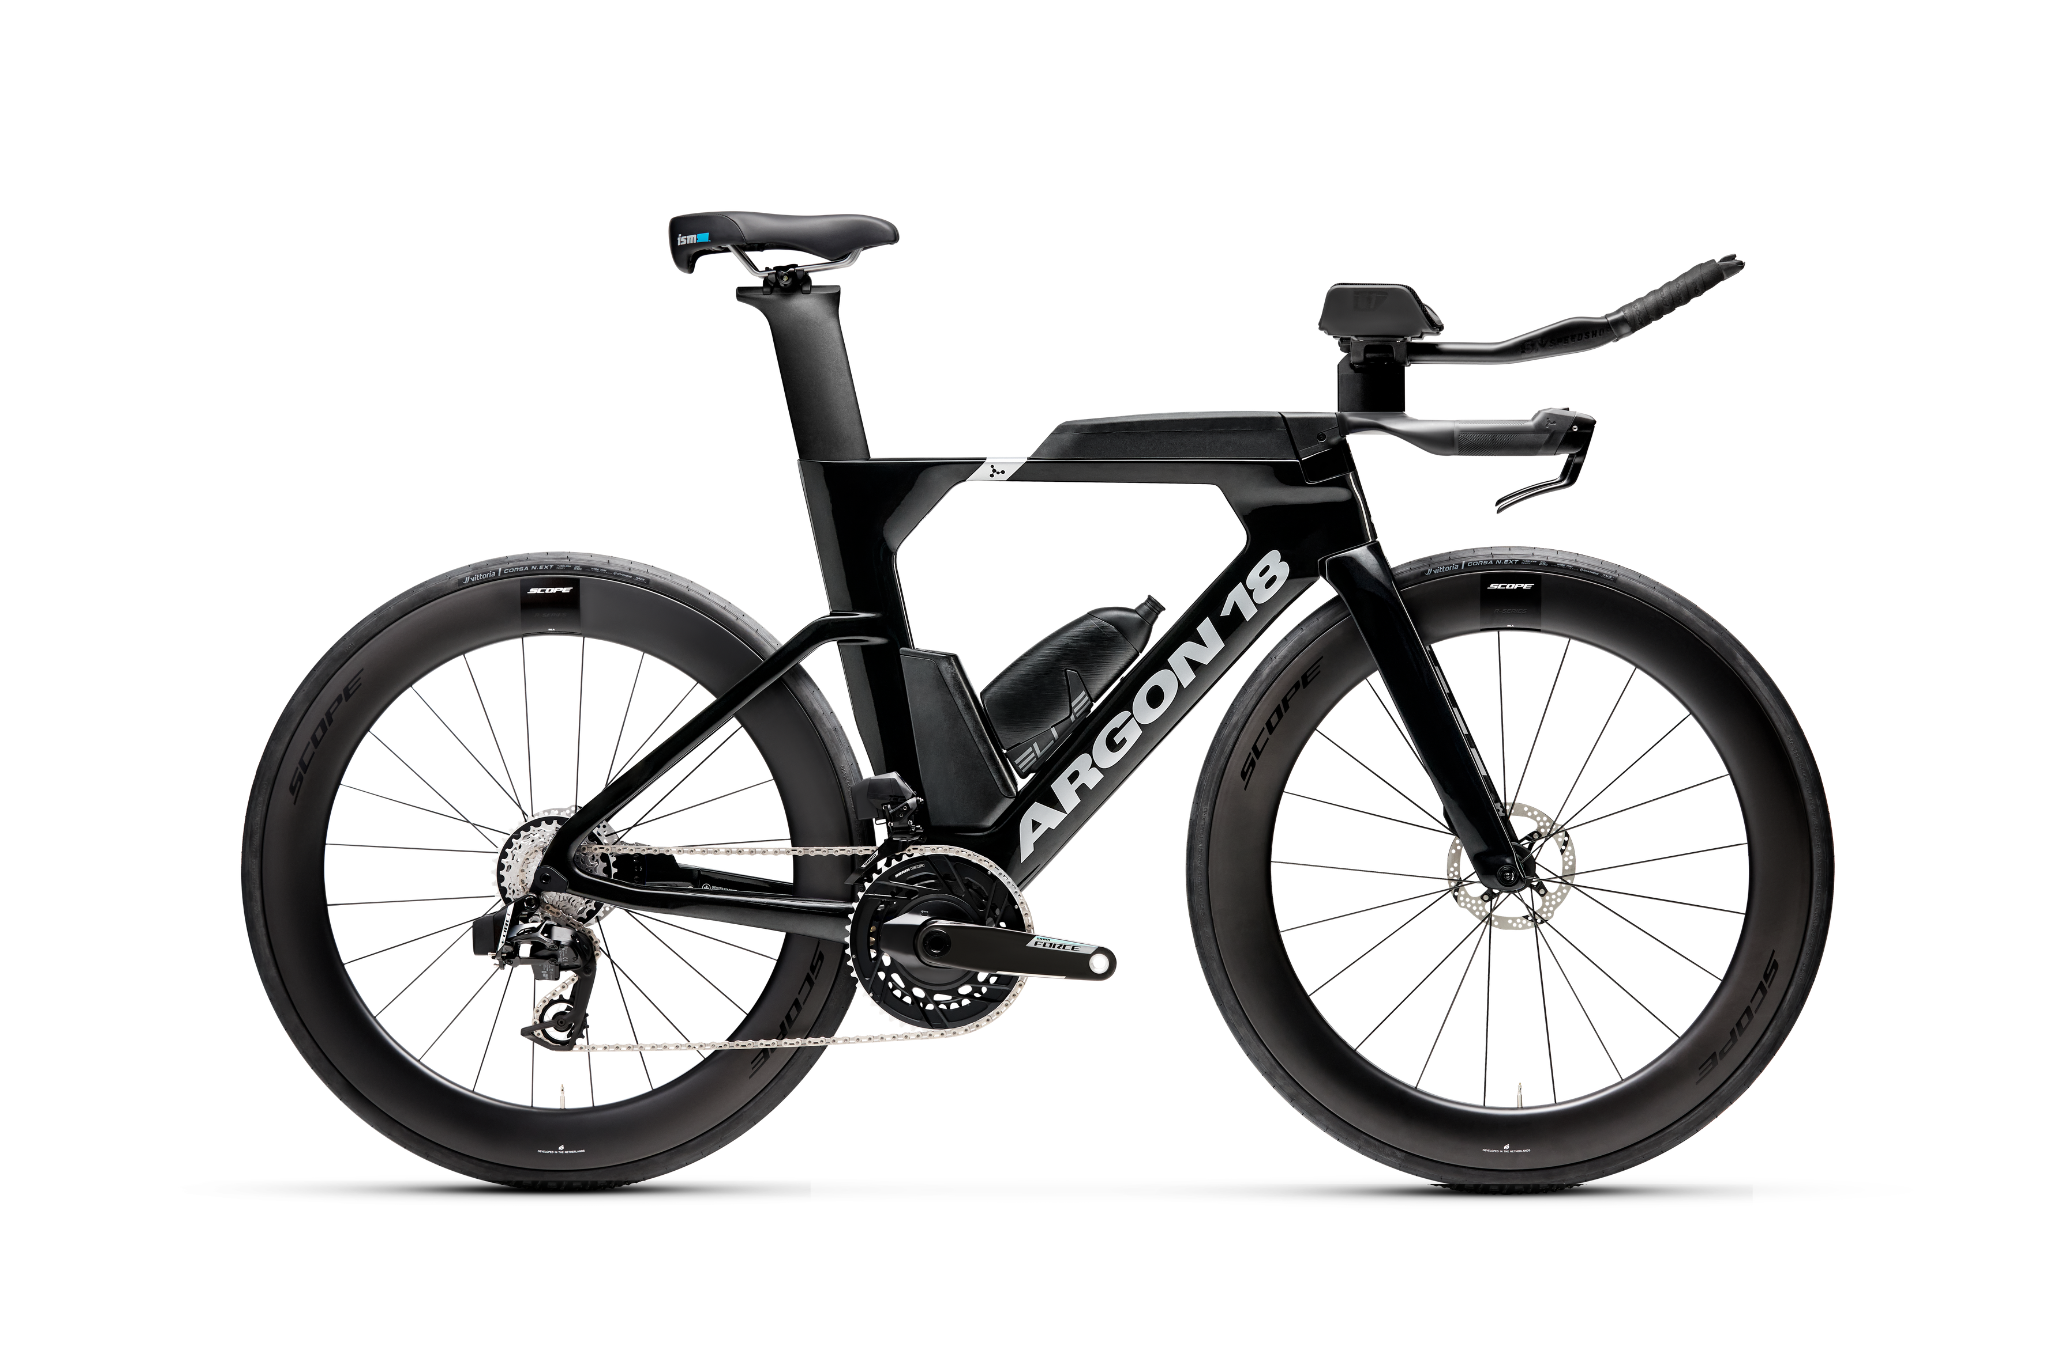
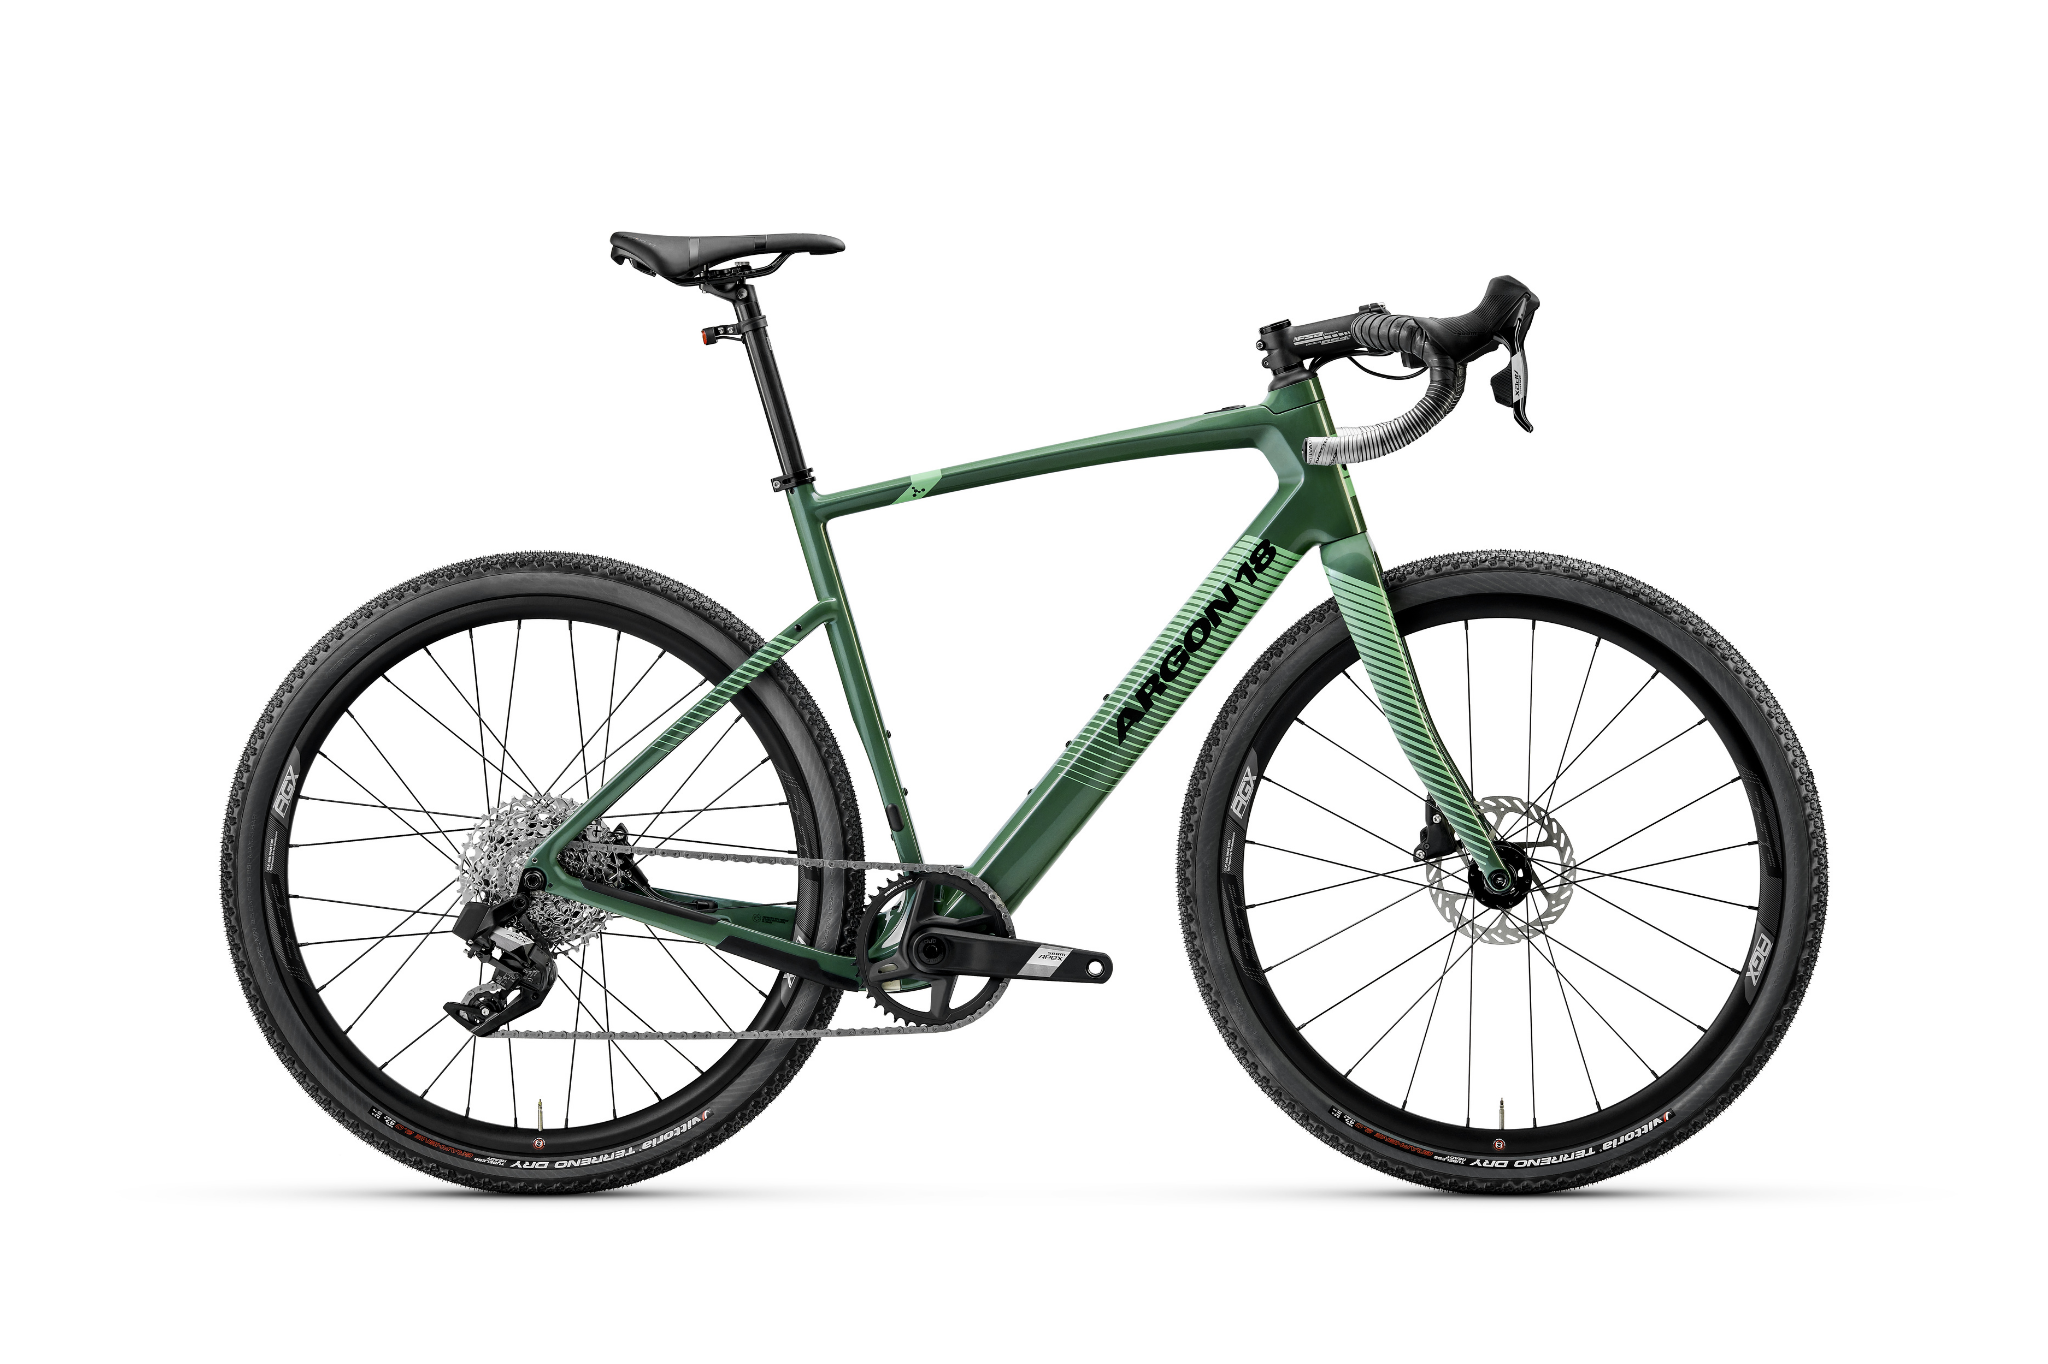

5 Tips to Help You Pack Your Bike Properly
So, you have qualified and are heading to Kona. Congratulations! Now it’s packing time for all that gear you will need to tackle the Queen K and the famous Alii Drive! Here are a couple of tips for first timers and those who want a little refresh on the process.
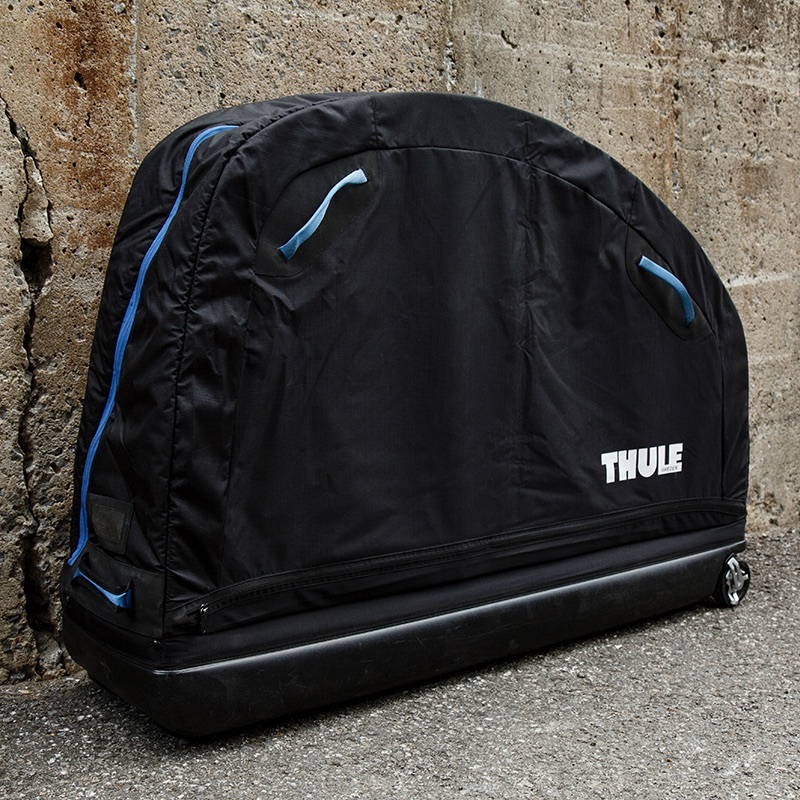
1. GET A GOOD BIKE CASE
There are a couple of options available today. Make sure you choose either a rigid or semi-rigid travel bike case. Bags or cardboard boxes just don’t cut it and all the time invested in training isn’t worth this risk to your trusty machine. The risks of having your bike damaged during transportation is a valid worry and bike bags or cardboard boxes do not offer adequate protection. Make sure to verify with the airline what kind of insurance is provided for bikes prior to departure as this may be helpful in choosing the proper bike case.
Bike cases can be rented or purchased. If you plan to travel frequently with your bike, it is worth making the investment and purchasing a good quality case. If this trip to Kona is a one-off, renting a bike case is a good option.
2. Disassemble KEY ITEMS
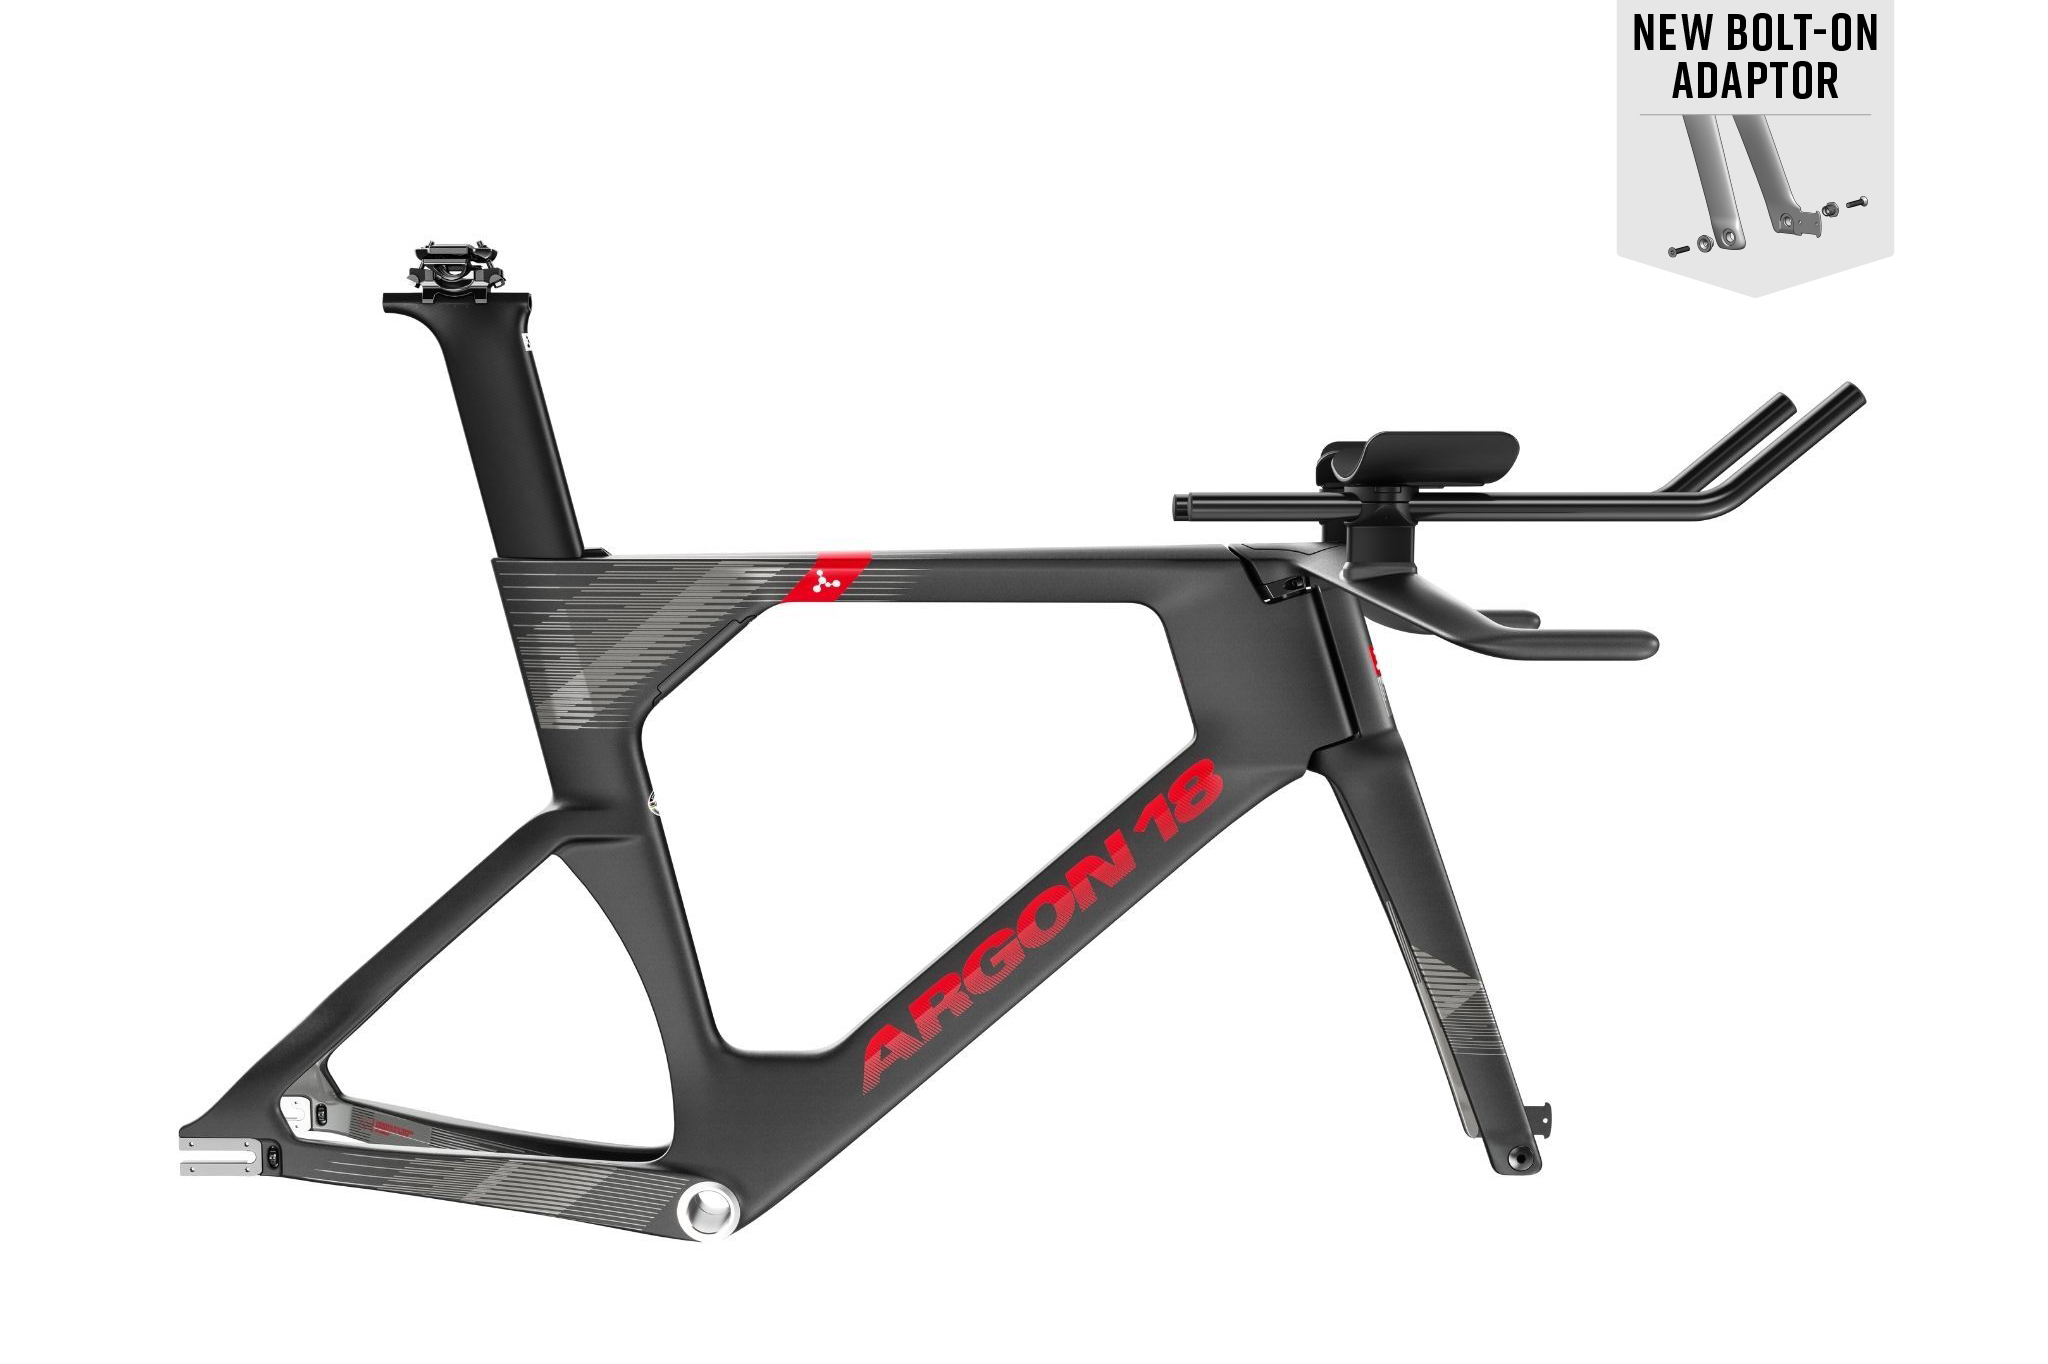
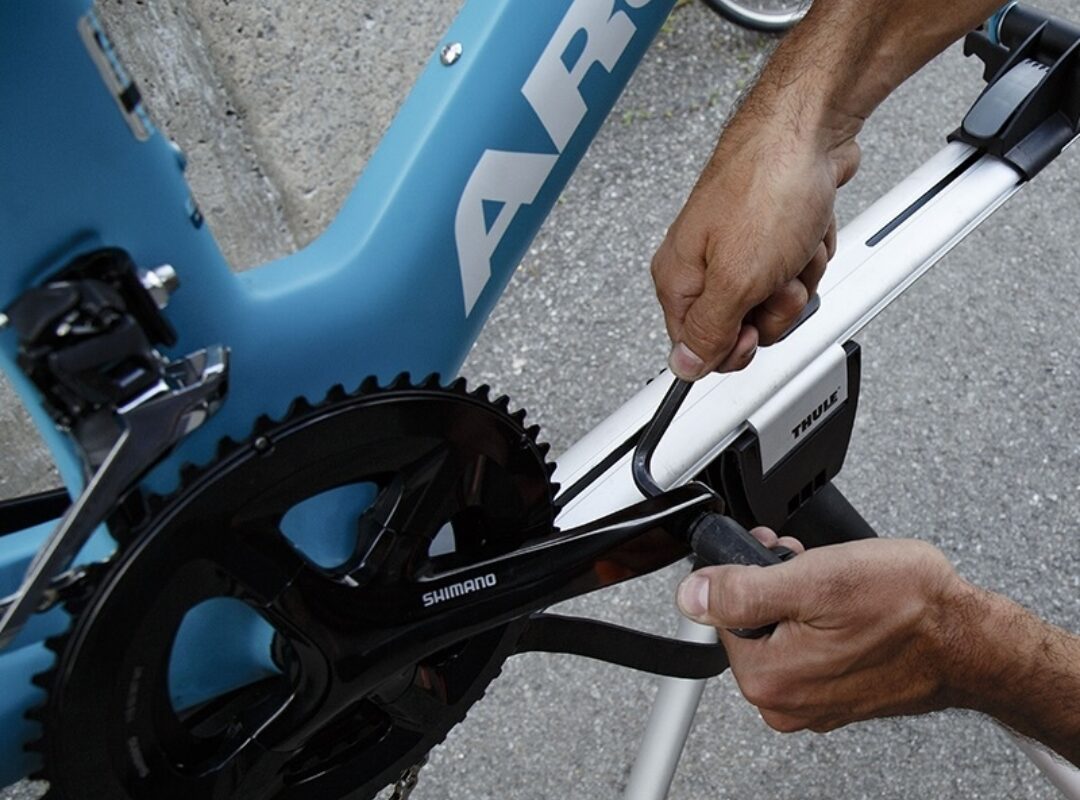
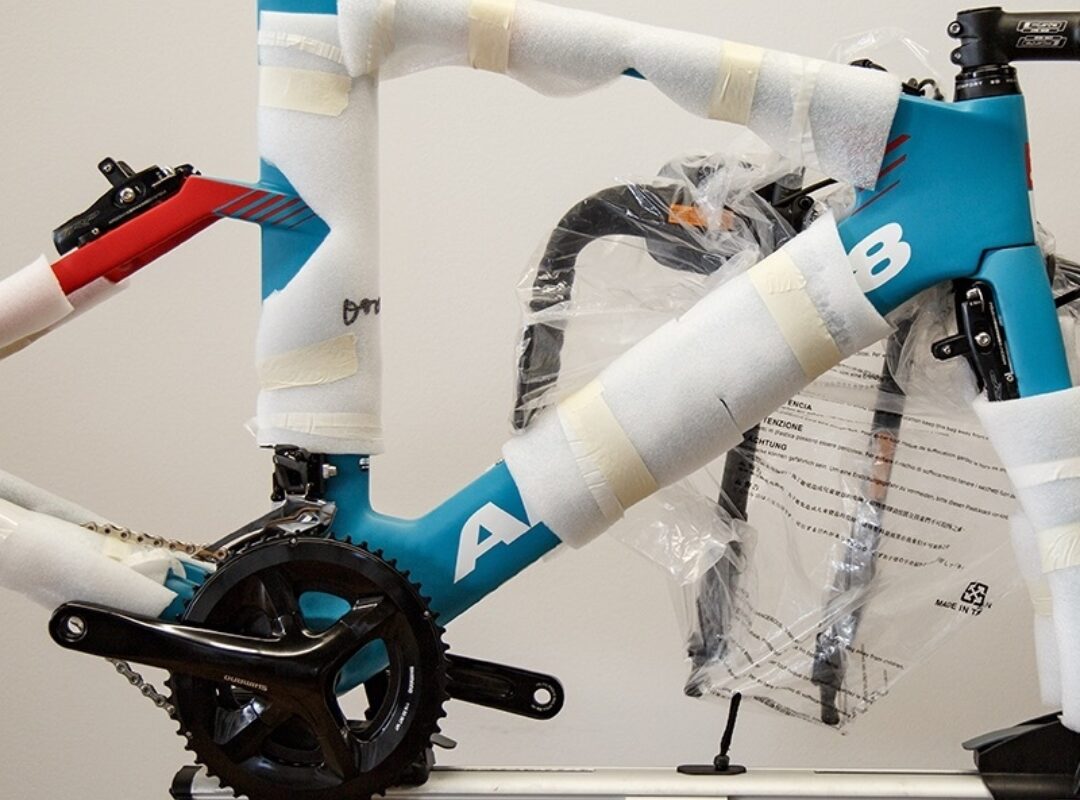
To pack your bike in the travel case, partial disassembly is required.
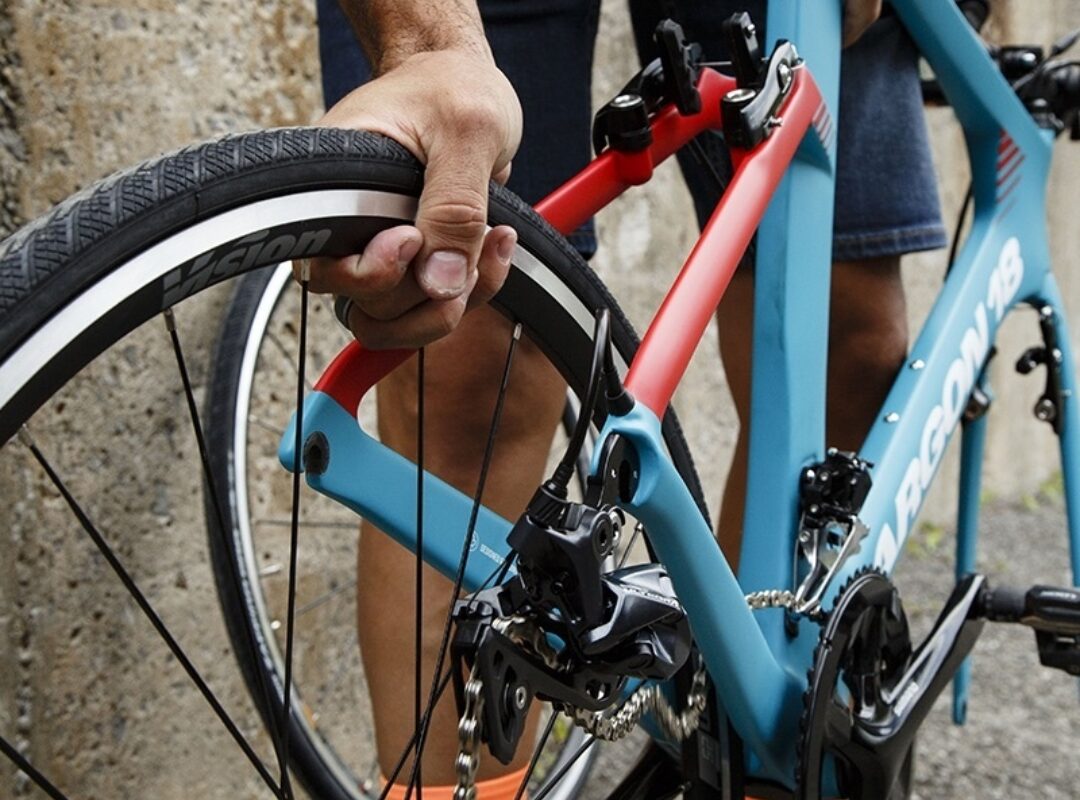
A. Take the wheels off the bike and pack them separately in the appropriate compartment of your travel case. Make sure to let some air out of the tires before packing. If you have wheel bags, use them for extra protection. Don’t forget to remove the quick releases from your wheels before packing (put them in the tool bag!). Put the proper protective spacers in your frame and fork to avoid any unpleasant surprises when you unpack your bike.
B. Remove the pedals, put them in a plastic bag and set them aside to pack in your carry-on bag.
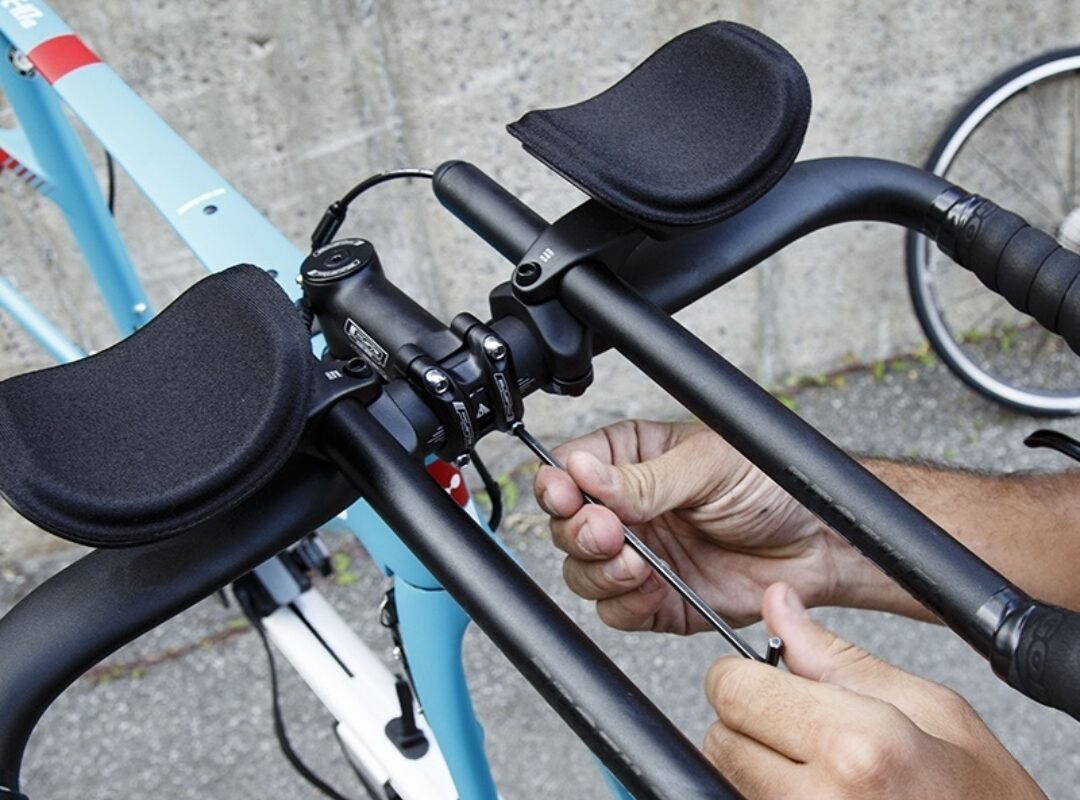
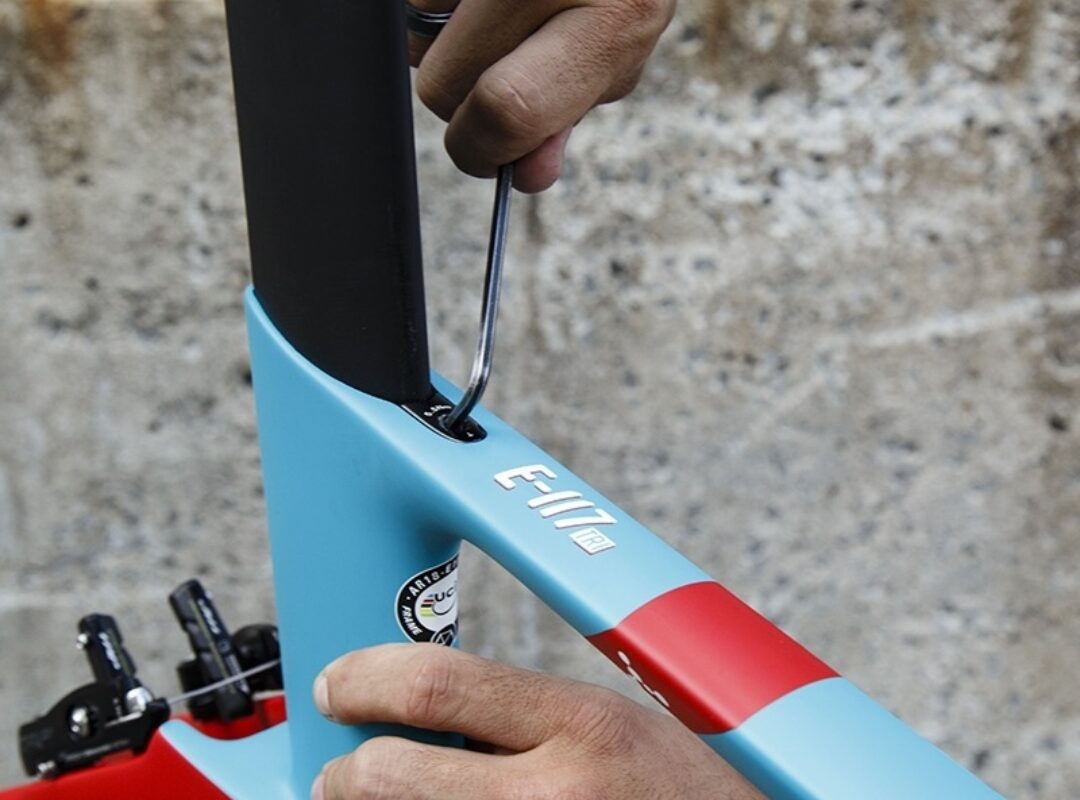
C. Remove your handlebar/stem unit from the bike. Make sure to put markers on it (pieces of tape will do) so that it can be put back on in the exact same position. Once this is done, you can attach the bar to the front of the bike using tape or tie wraps.
D. Remove the seat post from the frame. Mark the seat post, with a marker or electrical tape so you can quickly set it to the proper height on assembly. Wrap the seat post in a plastic bag and place it in the travel case securely so it is not touching the frame.
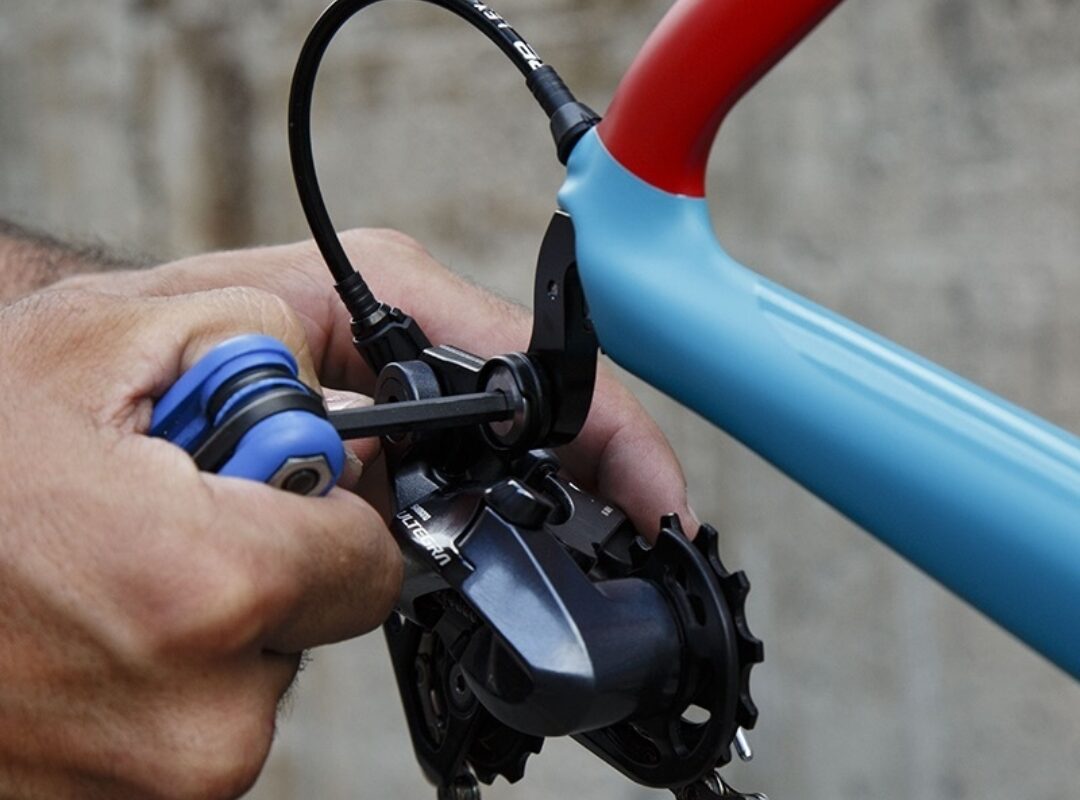
E. Remove the rear derailleur. Wrap the derailleur in a rag or plastic bag and secure it on the frame along with the chain using tape or tie wraps.
These are all fairly easy steps to follow. If you feel insecure about this procedure, you can look for videos online that will guide you through the process or ask your local bike shop if they offer a bike packing service. In any case, give yourself plenty of time to disassemble and box your bike. Boxing a bike at the very last minute is risky business, especially if you have never done it before. And remember that you will need to reassemble the bike once you arrive at your destination and pack it again before you head home, so taking a few extra minutes to establish a routine is a good idea.
3. TRAVEL WITH YOUR BIKE ASSEMBLY GUIDE and your fit report
Two documents with help tremendously when you travel with your bike, your bike assembly guide and fit measurements. The assembly guide provides all proper torques and instructions so that your bike can be disassembled or reassembled as per the right procedure. As for your fit measurements, this assures that when the bike is assembled, the measurements are all dialed in and you are ready to race exactly in the position you trained in.
Another option is to keep PDF copies of your bike assembly guide and your fit report on your phone, tablet or computer so they are always handy.
4. PACK HELMET, SHOES AND PEDALS IN YOUR CARRY-ON bag!
Keep these precious items with you at all times! Keeping these with your bike is not ideal. If the airline loses your bike, you lose everything. On the other hand, if you travel with your helmet, shoes and pedals packed in your carry-on bag, you may be able to rent or borrow a bike until the airline finally gets you your bike back. And since you have your fit report, you have the measurements to adjust a rental bike as a temporary solution.
5. Bring SMALL PARTS & TOOLS
Always travel with a set of bike tools! (See our previous article on key tools you should carry with your while travelling). Make sure to pack small parts securely in your travel case. Here’s a suggested list of parts to travel with:
A. Seat collar.
Always a good extra to have, in case it gets lost or breaks when tightening the seat post in the frame.
B. Rear derailleur hanger.
A bent rear derailleur hanger may be brought back to its proper shape a couple of times, but it will break at some point. Being prepared is better than trying to find one that fits your bike model and year of production in a visiting city/country.
C. Inner tubes and spare tire(s).
Better safe than sorry.
D. Wheel spokes.
You never know. Most people travel with their best wheel set. If anything happens and you need to replace spokes, it might be difficult to find them. Make sure your spoke kit includes all lengths needed for your wheels. You may need three different spoke lengths: one for the front wheel and two different lengths for the rear wheel since drive side and non-drive side spokes are usually different.
You are now ready to travel with your bike like a pro. Ready, Set, Travel! Have a great trip!
PS. Don’t forget to put those pedals in your suitcase or carry on bag!