


Getting That Perfect Shot: Tips for Pro-Quality Cycling Photography
We’ve all seen the perfect peloton photo that captures the group’s energy so well you can practically feel the riders go by, or dramatic switchback shots that make your legs ache just by looking at them. So what are the tricks to getting a perfect cycling image, a photo that captures speed, detail, and split second framing? We spoke with Julien Payette Tessier, a photographer who has worked with Argon 18 over the past few years, to get some secrets of the trade.
What got you into cycling photography?
I started as a graphic designer, actually, working in the cycling industry. As a designer you’re always in need of great images, so little by little I started shooting what I needed myself. Now photography is my primary job. That makes it sound easy, but it was a long learning process.
For several years now I’ve been shooting a crit race in my hometown, called Les Mardis Cyclistes de Lachine. Anyone who’s watched a crit more than once will probably agree with me that it’s not the most exciting thing – they’ve been doing the same four turns around the same park for over 50 years now, I think. But I learned cycling photography there. I can compare what I did in the past with what I’m shooting now, at exactly the same point on the course, and it helps me get creative, try new things and see how they turn out.
What are a few easy tips you can pass on to those who may be doing the same thing, shooting their local races?
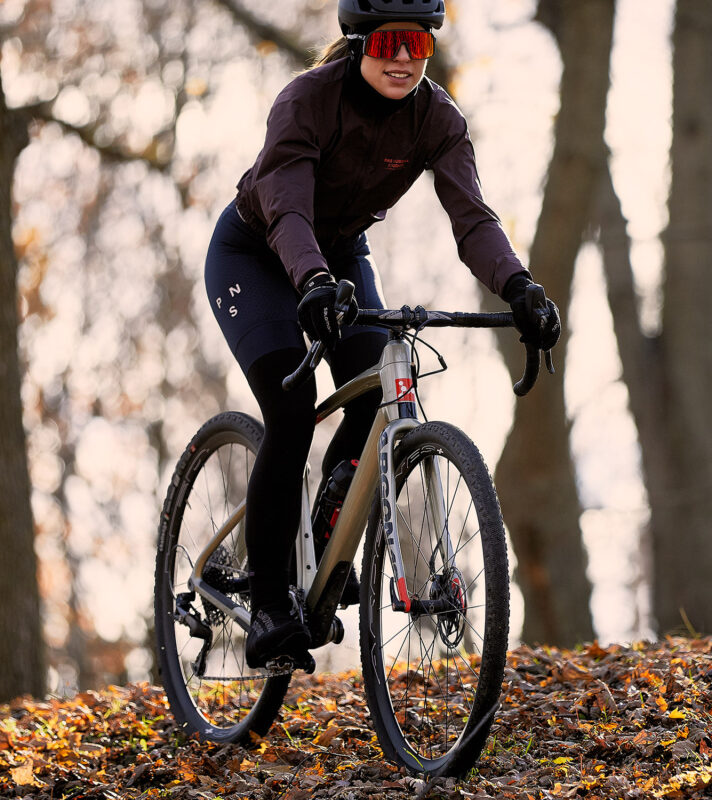
There are a few simple tricks to keep in mind about selecting a shot and getting the framing right. First, selecting the shot is about getting to know the course, where you will be shooting from, and what the weather will be like. It’s important to look at the details before and during a ride or a race: the light, the shadows, the textures. Try to learn how the sun will affect the light on your subject during the day. We all know the light in the morning, at mid-day and at sunset is not the same. Try to use that to your advantage. Learn how the light and the shadows affect your subject and the setup of your shot. For example, try to avoid weird shadows falling on your subject’s face! A sunny day might be difficult to shoot because the light is really harsh and will create deep shadows. Shooting on a cloudy day actually offers the most flattering light. The shadows are smoother and the light fills everything gently – and you can always add more contrast later with editing software. I also love shooting into the rain. It’s tough on your equipment but it creates some nice textures. There’s not a lot of light when it rains, though, so you generally need to crank your settings to achieve a fast shutter speed to get sharp droplets.

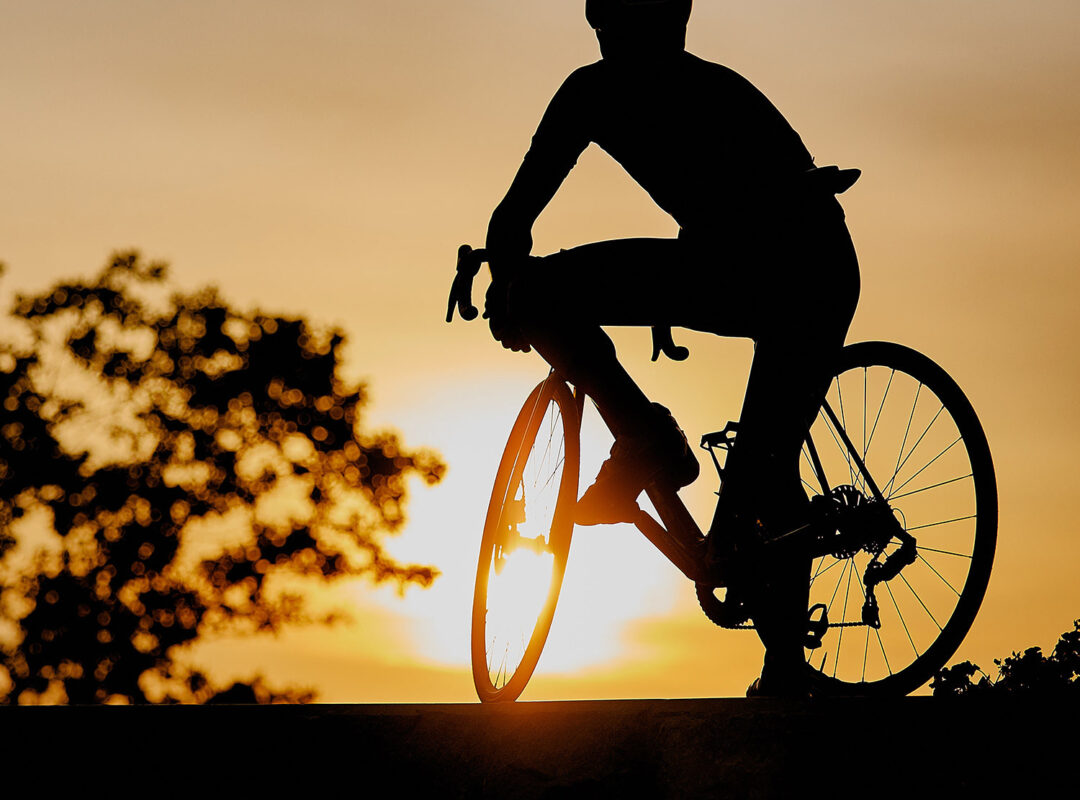
Anticipation is also important. If you’re shooting a race, for example, you need to know what moments are important and expect what will happen next. Where are the dramatic climbs and descents, the sprints, the areas where attacks may happen? It’s also really important to know what you’re exposing for, to create a good effect. If you have harsh sunlight on a bib, then expose for that bib. The rest of the image may be dark, but maybe what you need in your shot is the information on the bib. Similarly, if you want to create a black silhouette of a rider in the sunset, expose for the sun and keep your subject as dark as you can.
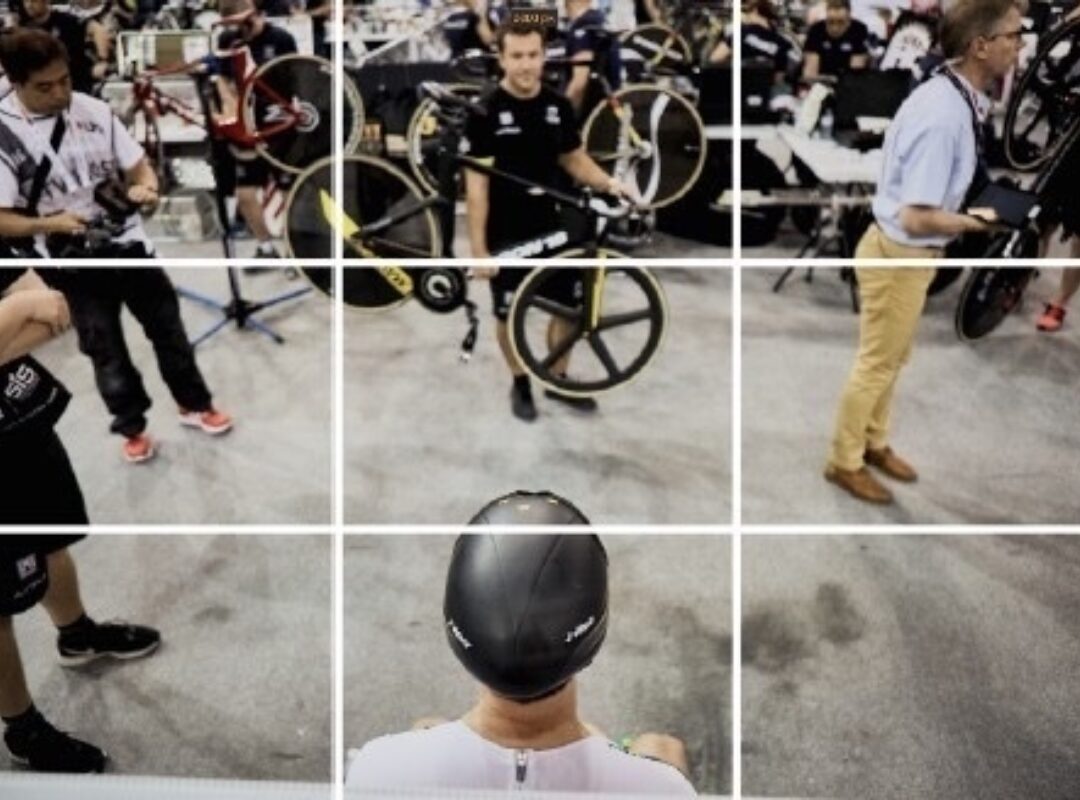
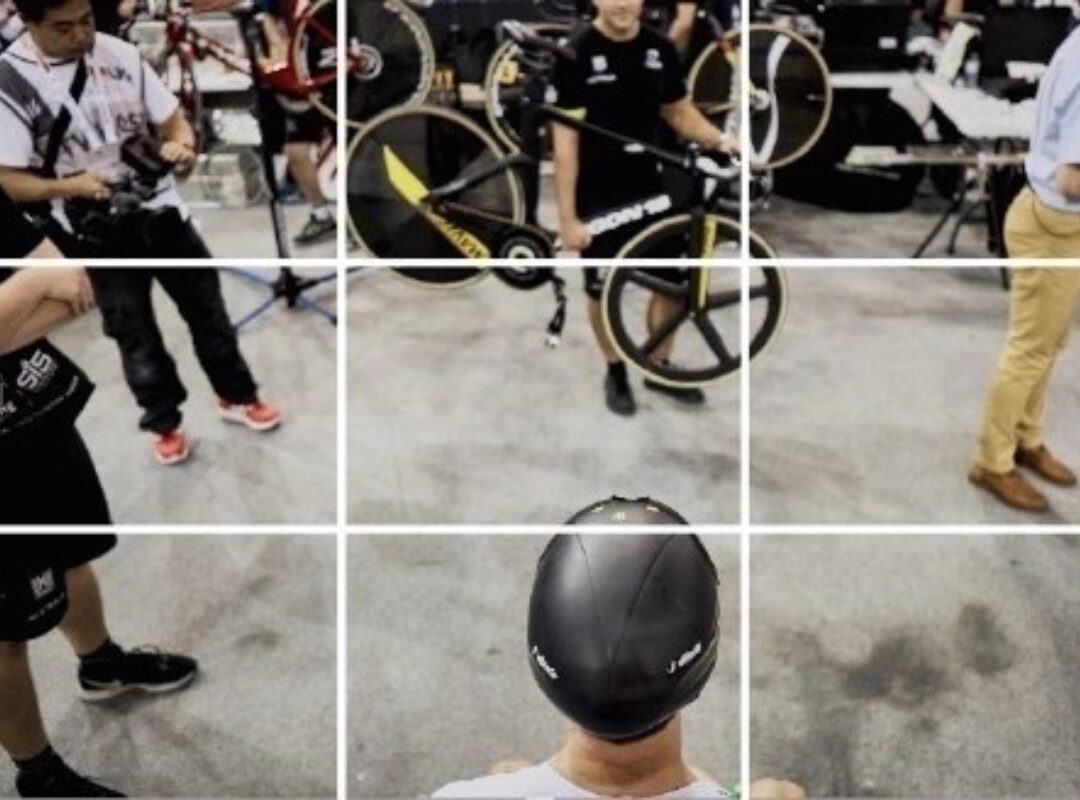
As for framing, remember the rule of thirds. Your picture is separated by three horizontal sections and three vertical sections, like a grid. You should always keep this in mind when you take a picture. If your framing is a bit off, your picture could not have the same impact. Try to align your subject in one of the ‘thirds’ or one of the lines between sections. And don’t hesitate to correct your framing with your editing software. Most programs will show you the grid and it will be easier for you.
Remember: people read images, just like they do text. The eye enters the picture in the top left corner, ‘reads’ it, and exits at the bottom right corner. When you don’t have proper framing your eye doesn’t really understand where to look and what to look at.
What about developing a unique style as a photographer?
When you’re starting out it’s ok to copy other photographers, their styles, or buy their Lightroom presets. You will learn that way. But after you’ve got the basics, try to get out of your comfort zone. If you can, always bring a camera with you – or use your phone - when you’re out riding or just walking around, and train yourself. Going out with a fixed lens can force you to be creative and work with what you have. Shooting with a film camera and a fixed lens will force you to really consider each shot – so that you don’t run through your film in two minutes! You’ll really start to focus on framing and getting the light and angles right.
Also, go back and edit your old pictures. Your style may have changed over the years. Even if you edit a picture today, I can guarantee that it will not look exactly the same if you do it again tomorrow. You’ll keep seeing new things and experimenting with different techniques, until you’ve got something that is uniquely your own.


